Coast
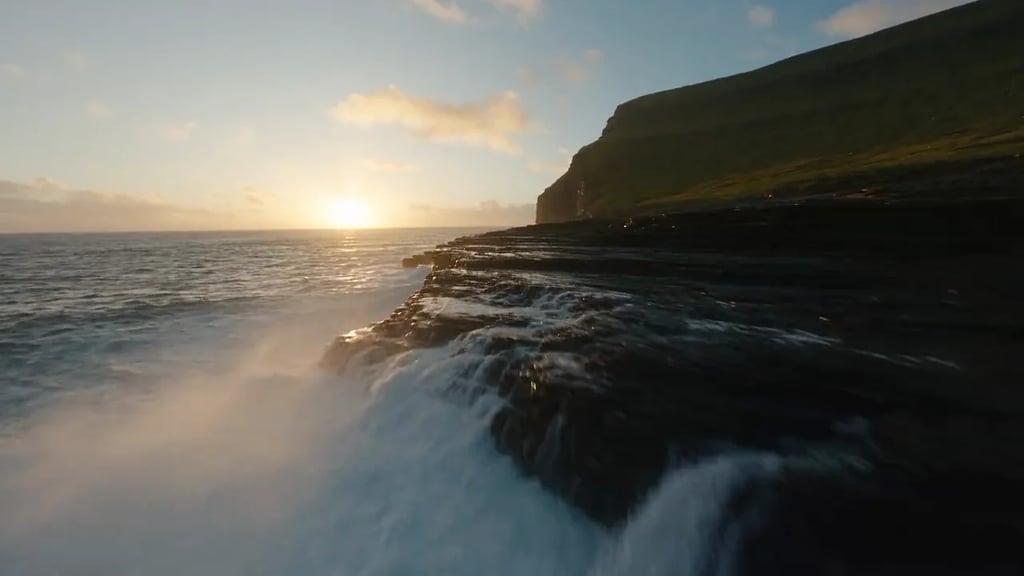
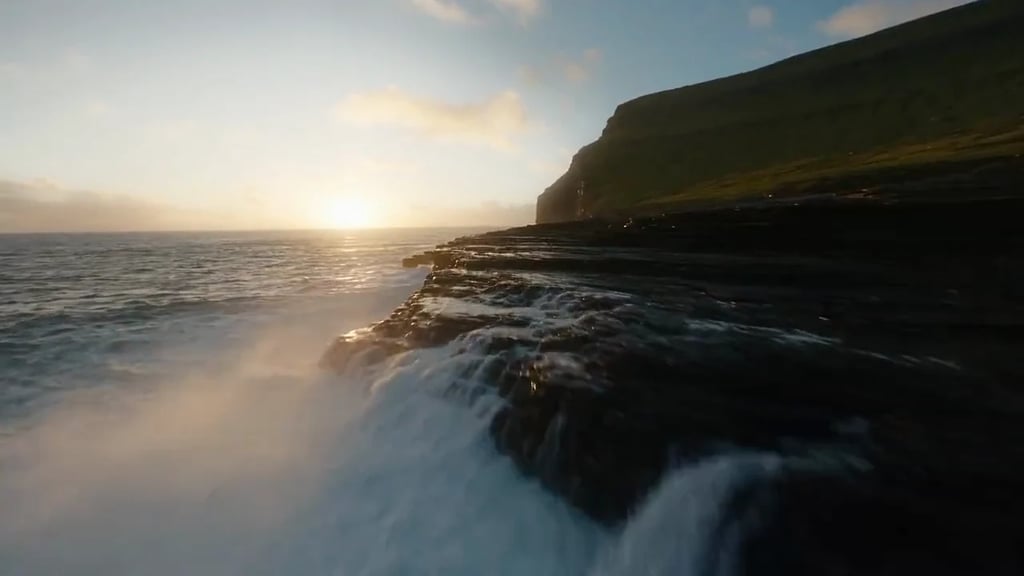
Shape a sunset coastline with cinematic contrast.
From natural color correction to cinematic looks. Start with a preset, fine-tune your grade, and compare as you edit.
Drag or use the middle mouse button to pan. Scroll to zoom. Shortcuts work when the preview is focused.
Drop a video here
MP4, MOV or WebM · up to 60 seconds · 200 MiB
Brighten or darken the image in exposure stops.
Change the separation between light and dark tones.
Adjust bright areas while keeping the rest of the image steadier.
Lift or deepen dark areas.
Adjust the brightest end of the tonal range.
Adjust the darkest end of the tonal range.
Shift the image toward cooler blues or warmer tones.
Shift the color balance between green and magenta.
Adjust muted colors more strongly than already saturated colors.
Increase or reduce overall color intensity.
Drag to set hue and saturation. Use luminance to adjust brightness in this tonal range.
No LUT selected
Compare four grades on the same source clips, then try the footage in the editor.
Shape a sunset coastline with cinematic contrast.
Give a window-lit portrait a warmer tone.
Bring more vivid color to a daylight street scene.
Explore shape and contrast in a monochrome studio scene.
Balance exposure, white balance and color intensity.
Control contrast and individual RGB channels.
Tint shadows, midtones and highlights separately.
Import a .cube look and set its strength.
Begin with a balanced image, then build the look. Check several moments in the clip: skin, skies and moving subjects can respond differently to the same settings.
Use exposure and tonal controls to balance the image, then temperature and tint to reduce a color cast. Check neutral objects and skin before increasing saturation. These adjustments work with recorded detail; they cannot recover highlights or shadows that are already clipped.
The master curve shapes all three color channels together; red, green and blue curves adjust each channel separately. Start with small changes. Use the waveform to inspect displayed brightness across the frame and the RGB parade to compare channel levels. These scopes sample the SDR preview; they are not HDR mastering instruments.
Use the three wheels to shift color in overlapping tonal ranges. Try cooler shadows with warmer highlights, then adjust luminance to keep the balance. A tonal range affects matching pixels throughout the frame; it is not a tracked face or object mask.
Choose a LUT made for the SDR footage you are editing. Balance the source first and reduce LUT strength if the look becomes too strong. A LUT maps colors; it does not add moving grain, rebuild missing detail or automatically normalize camera Log footage.
Choose an SDR video from your device or try a sample. Your local file stays on your device while you edit.
Start with a look, refine exposure and white balance, then shape curves, color wheels or LUT strength. Play and compare several moments.
Choose MP4 or WebM, an available resolution and whether to keep audio. Download the result and check the picture and sound.
Add bloom, film grain, halation and other finishing effects.
Use a .cube look on a still image in your browser.
Fine-tune exposure, color and detail in a still image.