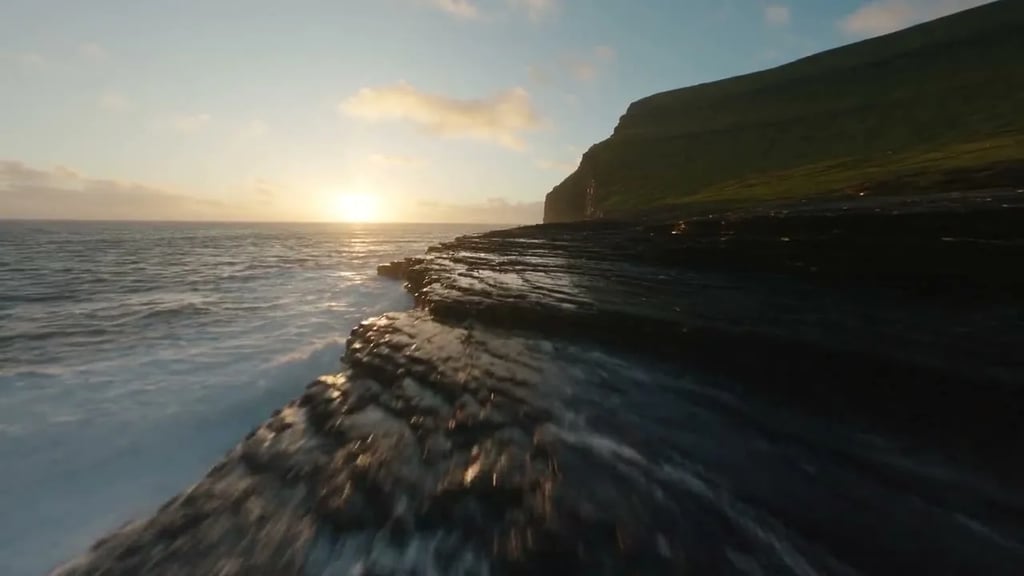
AI image upscaler

Image Upscaler for Larger, Clearer Files

A small image does not have to stay small. Upload a JPG, PNG, or WebP, choose the target resolution that fits the final use, and let our image upscaler rebuild detail as it enlarges the file. It is made for the moment when a source looks acceptable on a phone or in a small browser window but needs more usable pixels for a presentation, a product page, a crop, a print, or a larger canvas.
Target resolution

A target, not a multiplier: picking 4K enlarges a 1000px photo far more than it does a 3000px one.
2 credits
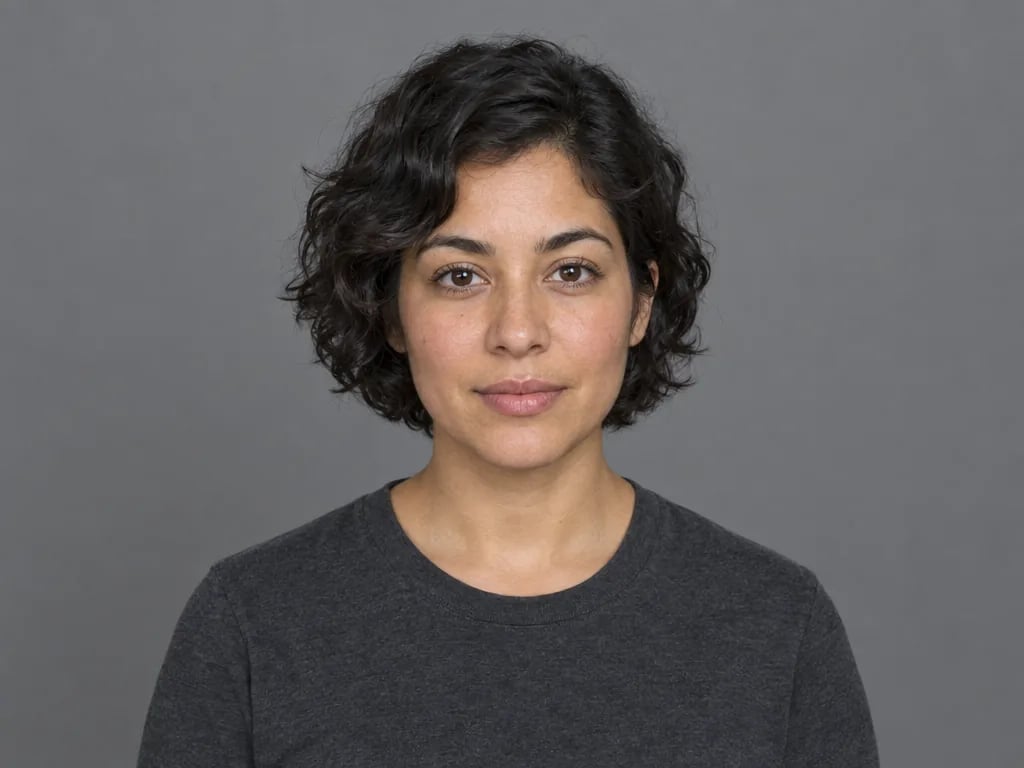
A small, heavily compressed crop of a portrait showing the eyes and brows, the eyelashes smeared into a dark blur
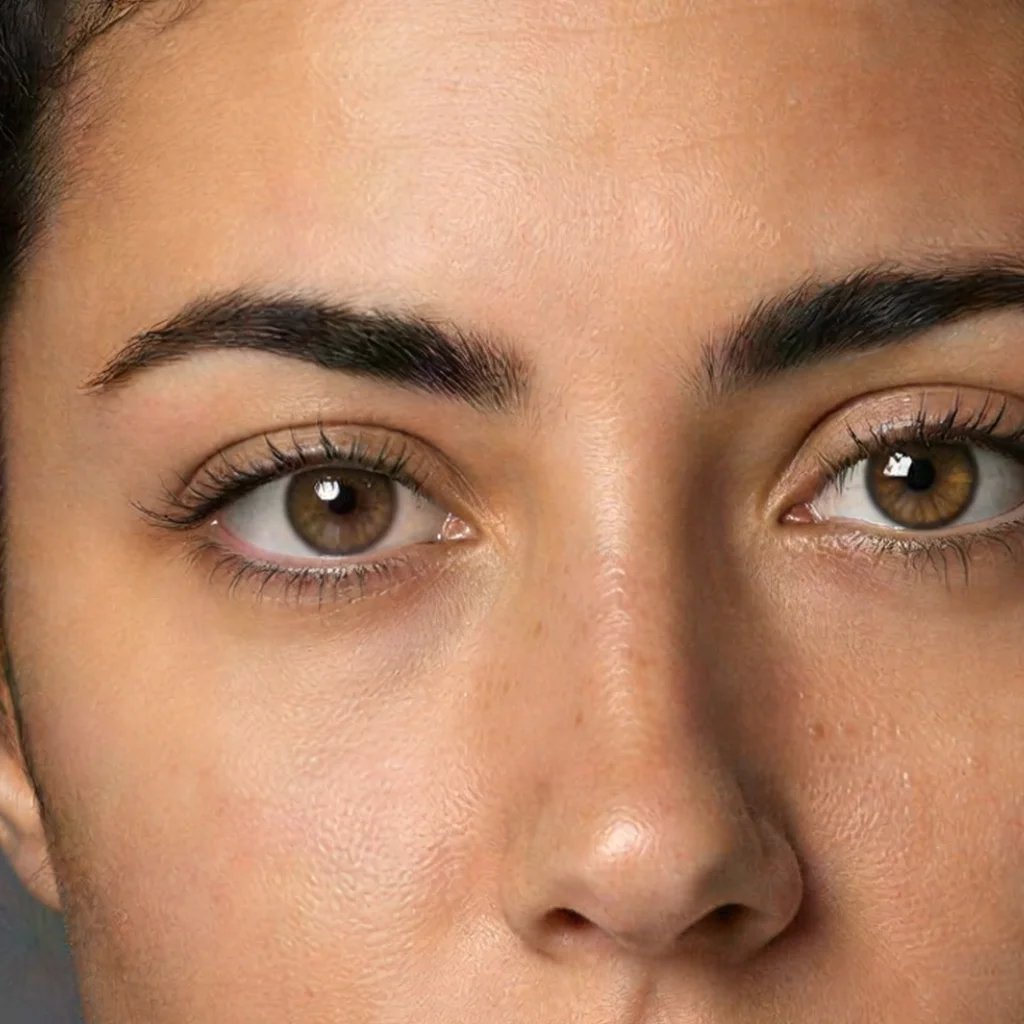
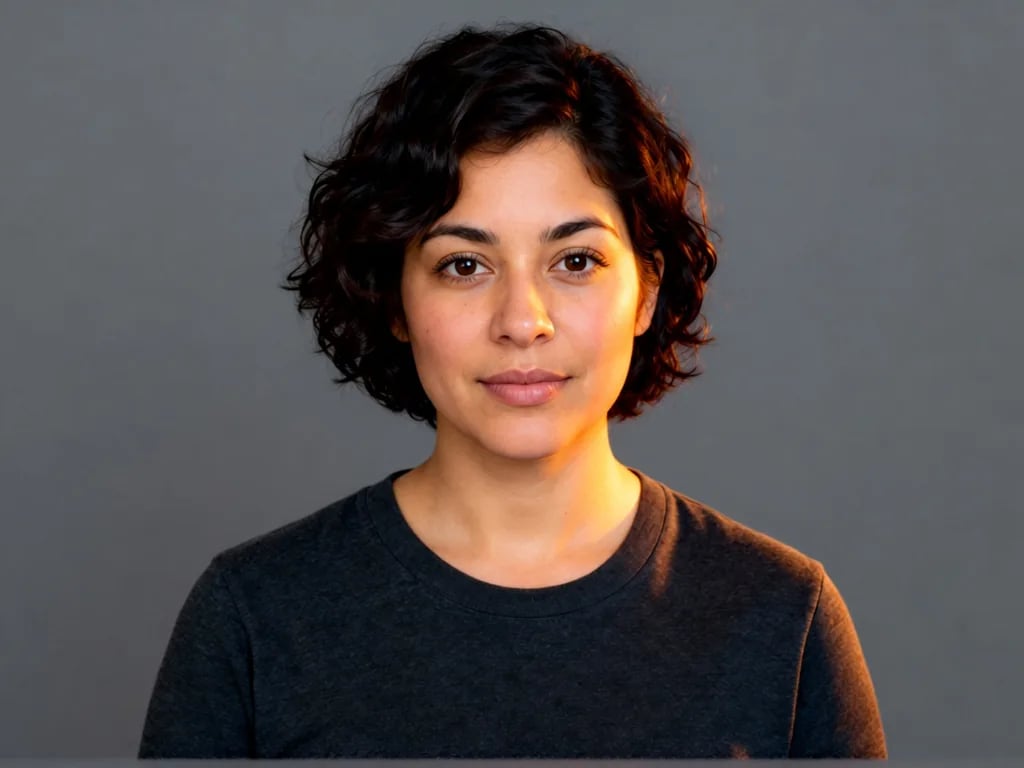
The same eyes and brows after upscaling, with individual eyelashes and brow hairs separated and skin texture visible at pore level

How it works

How the image upscaler works

  1. Step 1

    Upload the source file

    Drop in a JPG, PNG, or WebP. Start from the clearest version available, even if it is still small. A cleaner source gives the image upscaler a stronger visual reference for line work, fabric, surfaces, and transitions in color. If you have several versions of an image, choose the one with the least compression and the fewest visible artifacts.

  2. Step 2

    Pick the output target

    Select 2K, 4K, or 8K according to where the result will be used. The image upscaler works toward that output size rather than applying a fixed 2×, 4×, or 8× multiplier. That distinction matters: target resolution starts from the needs of the final layout, crop, screen, or print instead of asking you to calculate enlargement from the input dimensions.

  3. Step 3

    Download the enlarged image

    After processing, the enlarged version opens in a session that belongs to you. Download the result when it is ready, or continue with another edit. The returned file is a JPG, which keeps photographic images practical at larger sizes without making the file unnecessarily heavy.

Output size

Choose image upscaler output: 2K, 4K, or 8K

The useful choice is the one that gives your layout enough room without adding more pixels than the next step requires. Our image upscaler offers three target resolutions, with 8K as the maximum on this page. Pick an output based on the delivery surface, how much you plan to crop, and how close the viewer will be to the image.

2K

About 2,048 pixels on the long edge. A practical fit: a web hero, a thumbnail that needs to remain crisp, or a social post.

4K

About 16 megapixels; a square photo is 4,096 × 4,096. A practical fit: a product listing, presentation slide, or modest print.

8K

About 8,192 pixels on the long edge. A practical fit: a poster, banner, or an image that will be cropped closely.

Before and after

Enlarged without losing quality

  • A small, heavily compressed crop of a portrait showing the eyes and brows, the eyelashes smeared into a dark blur
    The same eyes and brows after upscaling, with individual eyelashes and brow hairs separated and skin texture visible at pore level
    Portraits — separate eyelashes and pore-level skin, not a waxy mask. 700 × 700 → 4096 × 4096.
  • A small, soft crop of a linen sofa arm with a woven jute cushion resting on it, the weave smudged flat and the rug beneath blurred into a pale band
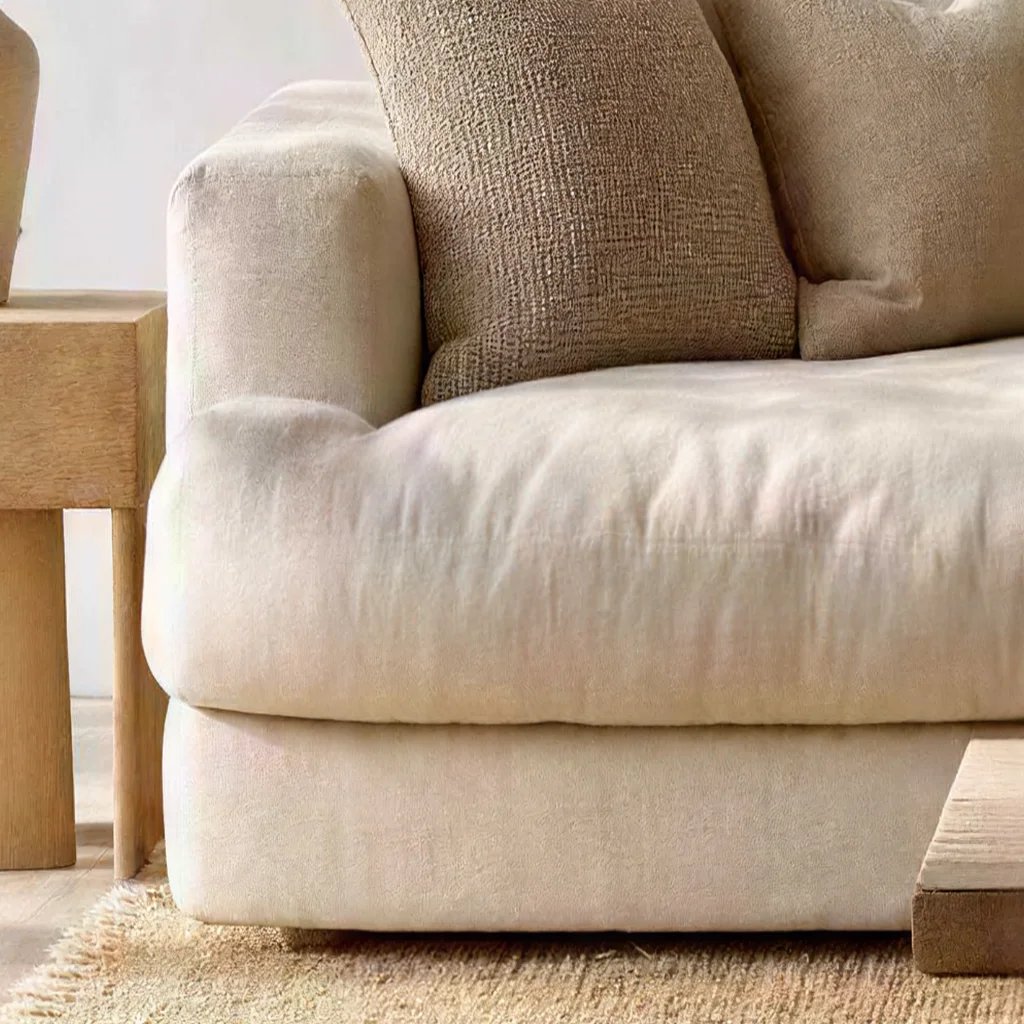
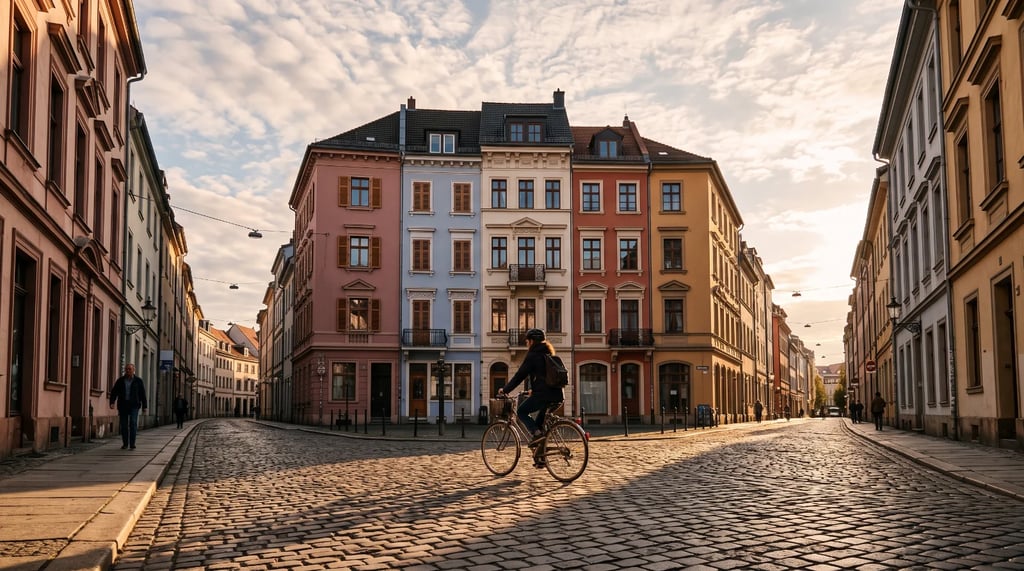
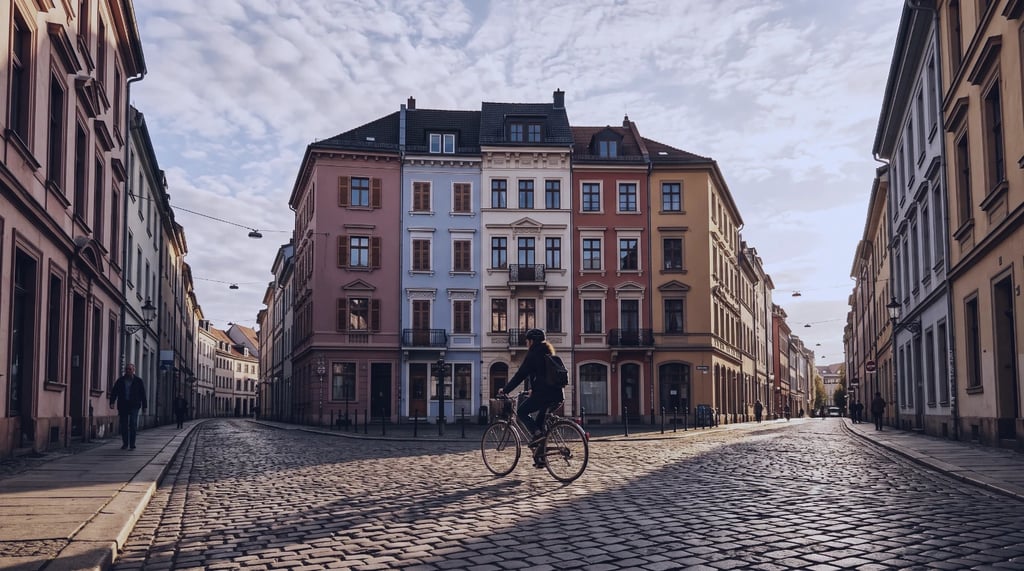
    The same sofa arm and jute cushion after upscaling, the weave resolved thread by thread, the linen creases sharp and the rug fibres separated
    Interiors — fabric stays woven and grain stays grain. 700 × 525 → 4730 × 3547.
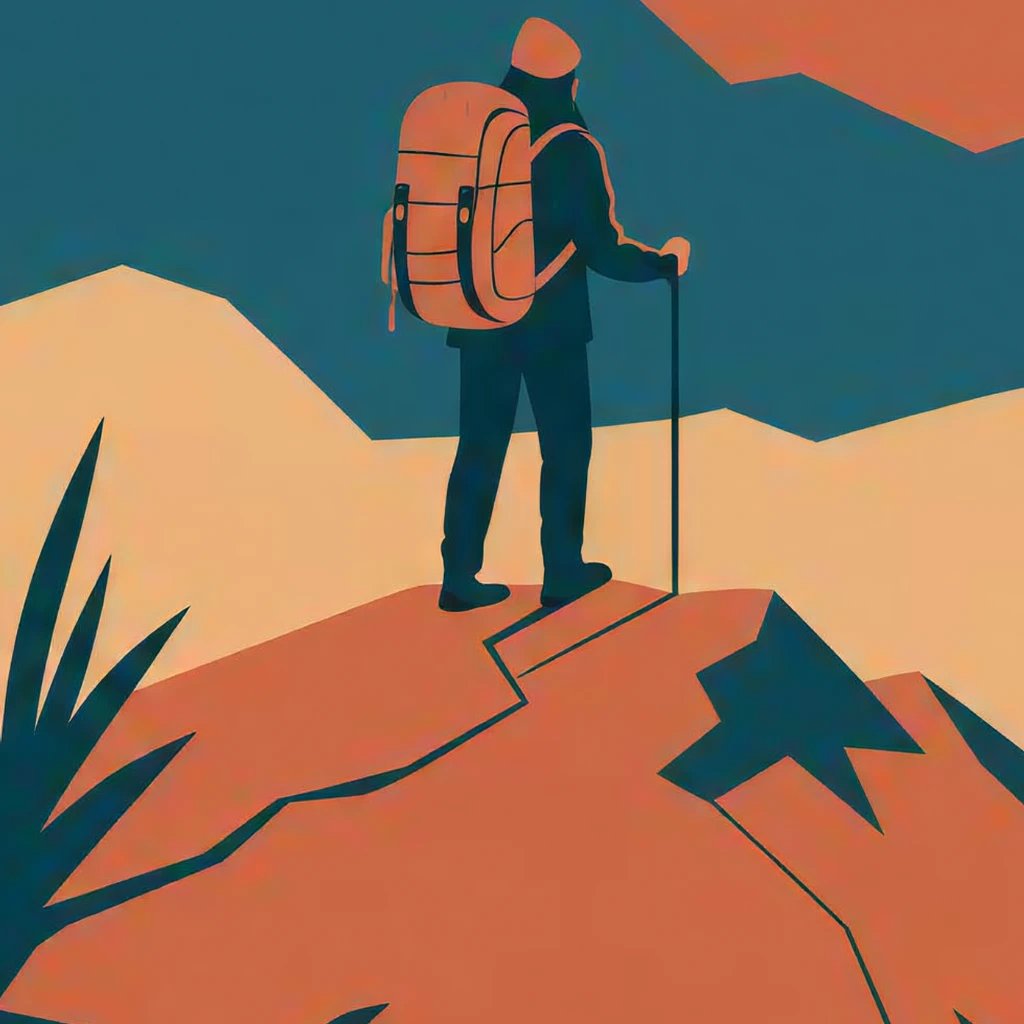
  • A small crop of a flat vector illustration of a hiker on a ridge, the thin trekking pole and the edges of the colour shapes broken into a soft staircase
    The same hiker after upscaling, the trekking pole a clean unbroken line and every colour shape still flat behind a hard edge, with no photographic grain added
    Flat art — edges stay hard instead of picking up photographic grain. 700 × 700 → 4096 × 4096.
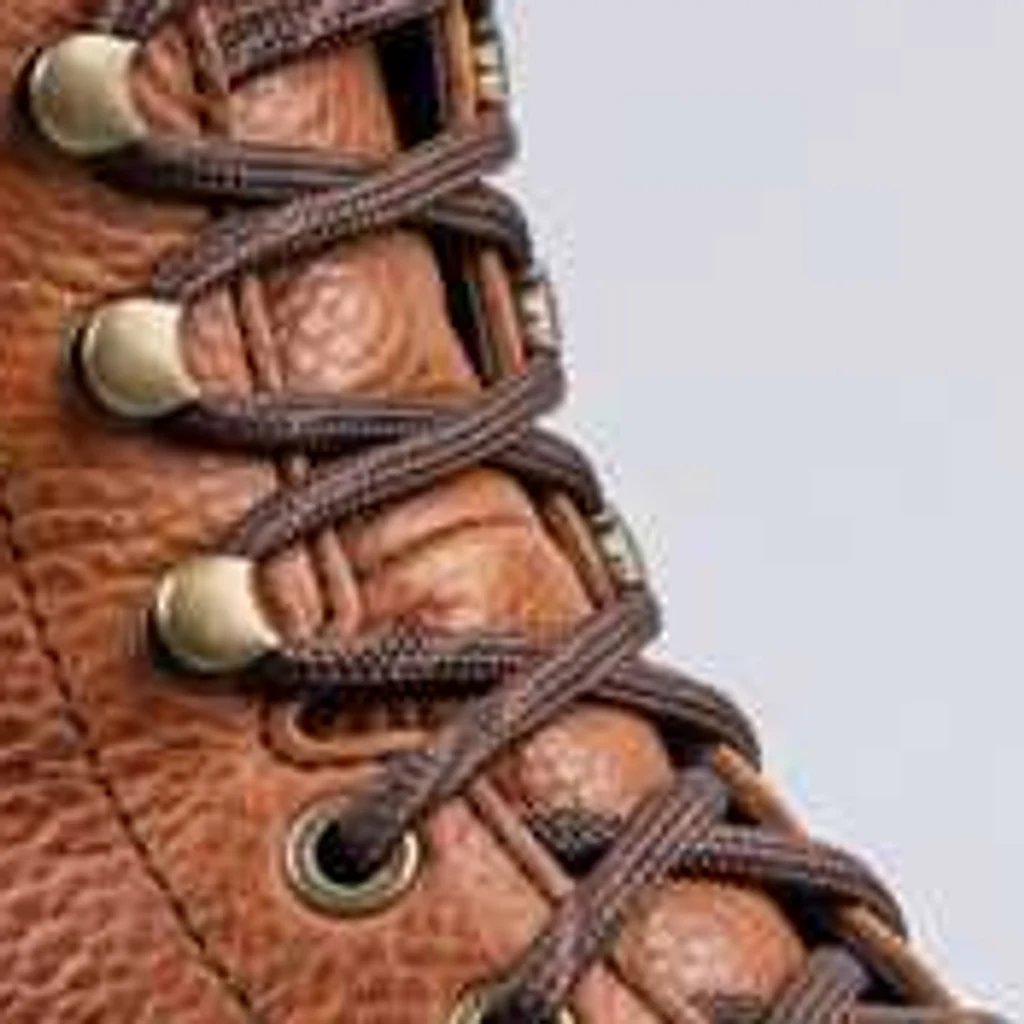
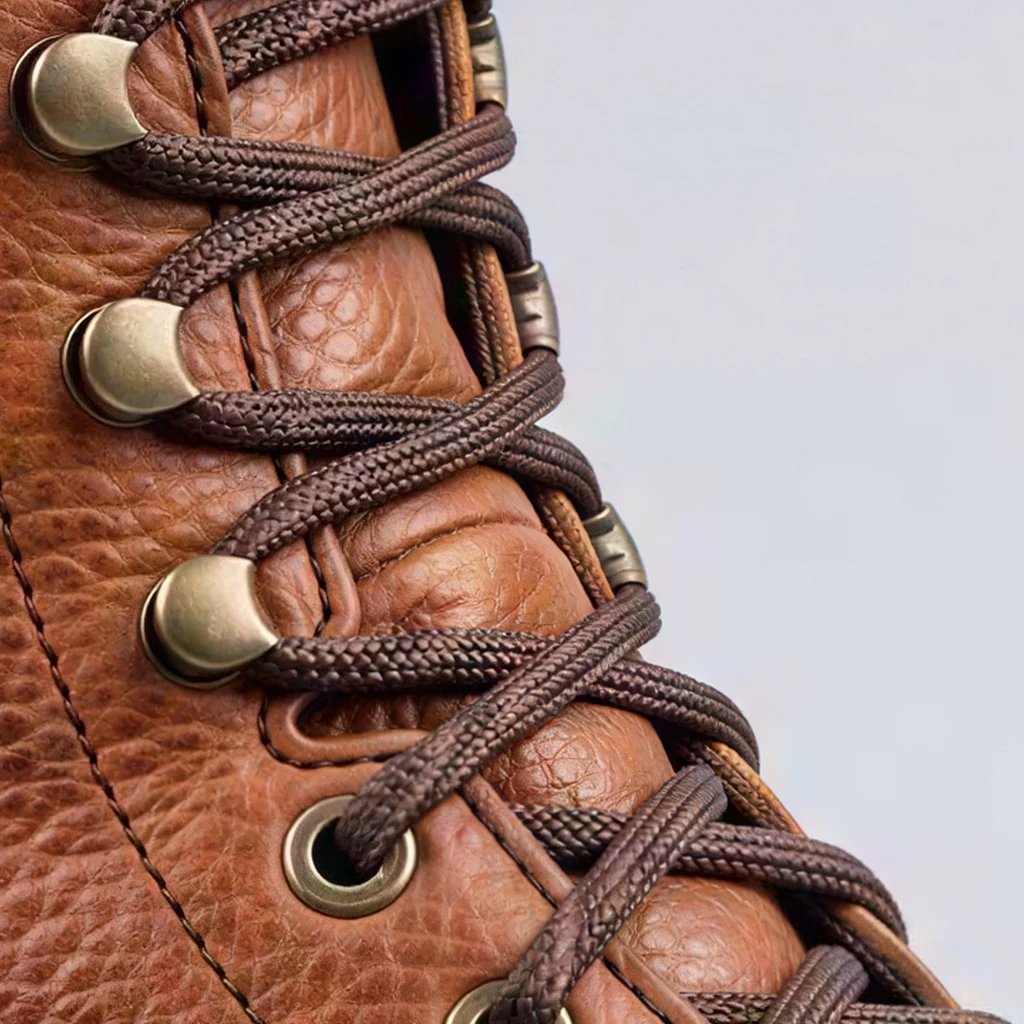
  • A 700 px crop of a leather boot’s lacing, the braided laces and pebbled grain soft and smeared
    The same crop after a 4K upscale, the braid of each lace, the brass eyelet rims, the welt stitching and the pebbled grain all resolved
    E-commerce — braided cord, brass and leather grain, not a flat surface. 700 × 700 → 4096 × 4096.

What it is for

When image upscaling fits the job

Image upscaling is useful when a visually sound file lacks enough pixels for its intended destination. It gives a small image more room to work in while keeping the task focused on resolution. Use this page for the common cases below, then judge the output in the context where it will appear.

Prints, posters, and banners

A file can look fine on screen and still look soft when printed large. The 8K target gives a poster or banner more pixels to work with at normal viewing distance. It is also the sensible route when the design will crop into a portion of the original image and still needs a usable result afterward.

Product listings and marketing assets

Marketplaces often need images that can be viewed larger or examined more closely. A product shot that is otherwise usable may need a bigger version for a listing, a campaign layout, or a presentation. Use the image upscaler to give an existing asset more room before deciding whether a new shoot is necessary. Check labels, fine product features, and brand marks carefully after enlargement, especially when they must remain exact.

Portraits, old photos, and scanned images

Older scans and phone photos can be smaller than a modern display expects. Enlarging a portrait or family photo can make it easier to place in a current design, but the source still sets the boundary. Details that are present but cramped may become more usable; details that were never recorded should not be treated as documentary evidence after processing.

AI art, illustration, and flat graphics

Generated images often start around 1K. Image upscaling can take an illustration or AI art file toward a size that is more useful for printing, cropping, or passing into a client-ready composition. Flat art can be especially rewarding because line work and areas of color offer clear structure to reconstruct. Inspect the output at full size, particularly around type, fine line work, and intentional texture.

Why it looks better

Move from resize to image enlargement

It reconstructs, it doesn't stretch

Resizing spreads the pixels already present across a larger area. That is why a standard resize can look soft, blocky, or haloed around an edge. Image enlargement with this tool takes a different route: it rebuilds visual detail as the image grows, aiming to keep texture as texture and edges as edges rather than turning the source into a soft stretch.

Compression damage gets cleaned up

Compression can make a small file look worse before it is even enlarged. Blocky gradients, ringing around an edge, and rough transitions may be treated as damage to repair rather than features to magnify. The image upscaler is therefore useful when resolution and compression are both part of the problem. It is not a guarantee that every image will look identical to a high-resolution original, so keep a close eye on faces, text, logos, and any detail that must be faithful.

Keep the target honest

Higher resolution is useful, but it is not a substitute for information the camera never captured. A face that is too small to show eyes cannot return with the original eyes; it can only receive plausible reconstructed detail. The same restraint applies to heavy motion blur, missed focus, and severely damaged source material. Review important details at the size where people will actually see the file.

A quick decision before you upload

Ask what is actually wrong with the source. If the image only needs a different aspect ratio, a crop may be the right first move. If the dimensions are too small for the next use, this image upscaler is the more relevant tool. If the image needs broader changes after it is enlarged, the next edit can happen in the same workspace rather than forcing the file through an unrelated process.

Before processing

Prepare source files for better image quality

Good preparation does not turn an ordinary source into a perfect one, but it makes the result easier to evaluate. Use the original file where possible instead of a screenshot of it. Avoid repeated saves that add more compression. Decide whether the destination really needs more pixels before requesting the largest target. These small decisions help the final image quality remain useful for its actual purpose.

Use the clearest available JPG, PNG, or WebP

Why it helps: the source contains more reliable structure for reconstruction. What to check afterward: fine edges, texture, and smooth gradients.

Choose the target for the final layout

Why it helps: the output size reflects the real use rather than an arbitrary multiplier. What to check afterward: crops, margins, and the intended viewing distance.

Preserve a copy of the original

Why it helps: you can compare the result against the source and return to it if needed. What to check afterward: facial detail, text, logos, and product features.

Review at the delivered size

Why it helps: a small preview can hide both improvements and artifacts. What to check afterward: the parts of the image that carry meaning.

Pay per image, not per month

Every plan includes credits you can spend on this page or anywhere else on YouArt.

Basic

For hobbyists and explorers

$9.99/mo
Select Plan
  • 1000 credits
  • Up to ~200 images/month
  • Up to ~332s video/month
  • Intelligent creative agent
  • Video editor
  • Latest image models, including GPT Image 2.5, GPT Image 2 and Nano Banana Pro
  • Latest video models, including Seedance 2
  • Realistic face uploads
  • Voice generation with ElevenLabs
  • No watermark
  • Unlimited template access

Pro

Popular

For creators and pro users

$29.99/mo
Select Plan
  • 3300 credits
  • Up to ~1000 images/month
  • Up to ~1100s video/month
  • Intelligent creative agent
  • Video editor
  • Latest image models, including GPT Image 2.5, GPT Image 2 and Nano Banana Pro
  • Latest video models, including Seedance 2
  • Realistic face uploads
  • Voice generation with ElevenLabs
  • No watermark
  • Unlimited template access

Max

Best Value

For power users and teams

$149.99/mo
Select Plan
  • 18000 credits
  • Up to ~6000 images/month
  • Up to ~6000s video/month
  • Intelligent creative agent
  • Video editor
  • Latest image models, including GPT Image 2.5, GPT Image 2 and Nano Banana Pro
  • Latest video models, including Seedance 2
  • Realistic face uploads
  • Voice generation with ElevenLabs
  • No watermark
  • Unlimited template access

Team

For teams and studios

$329.99/mo
Select Plan
  • 36300 credits
  • Up to ~12000 images/month
  • Up to ~12100s video/month
  • Realistic face uploads
  • Share canvas, workflows, and assets with your team
  • Up to 10 members per team
  • Up to 5 teams
  • Role-based management
  • Team credit management and spending caps
  • Per-member usage tracking

FAQ

Frequently asked questions

Image upscaling rebuilds detail as it increases pixel dimensions, while a standard resize spreads the pixels already in the file over a larger area. That is why resizing often looks soft. This page is designed to reconstruct detail during enlargement, including edges and texture, instead of relying on a simple stretch.

Upload a JPG, PNG, or WebP. The image upscaler returns the processed image as a JPG, which is practical for photographic images at larger dimensions. Start with the clearest available source so you can assess the enlargement against the file you began with.

Choose 2K for screen-focused work such as a web hero, crisp thumbnail, or social post. Choose 4K for a product listing, presentation slide, or modest print. Choose 8K for a poster, banner, or a close crop. These are target resolutions, so the amount of enlargement depends on the starting image.

Yes. Select the 8K target when the image is intended for a poster or banner. It is about 8,192 pixels on the long edge and is the highest target on this page. Review the result at the expected print size, especially if the source begins very small or contains important fine detail.

It can be a strong fit for flat art because clear line work and areas of flat color provide unambiguous structure to reconstruct. Inspect the enlarged file at full size, particularly around intentional lines, lettering, and the edges between colors. The source remains the reference for what should stay true.

The result opens in a session that belongs to you and is ready to download or carry into another edit. Your file is processed in your own YouArt workspace; it is not published as part of the upscaling step.

Beyond one image

Keep the next edit connected

Sometimes a larger image is the end of the task. Sometimes it is the preparation for another change. When the file needs a background removal, relight, generated backdrop, or a repeatable sequence for more images, use the workflow editor to chain the work in one graph. You can also browse the full AI tools collection when the next step is a different image or video task.