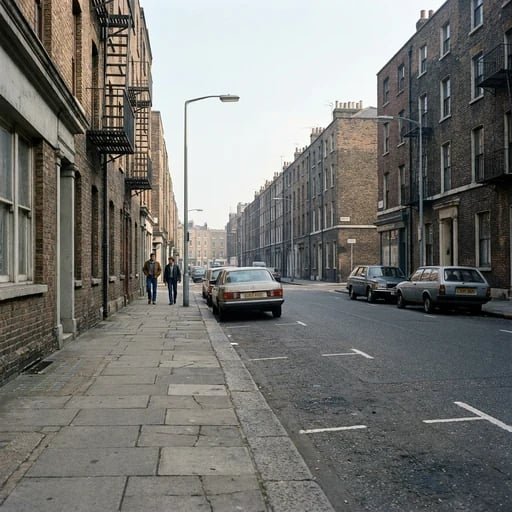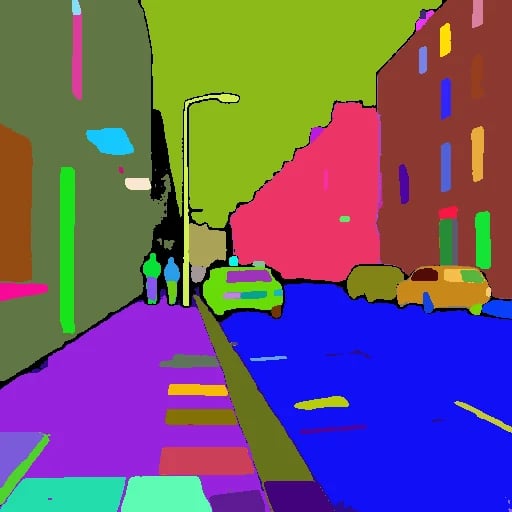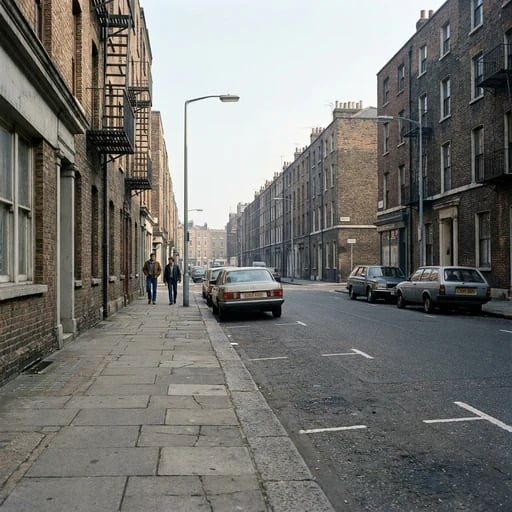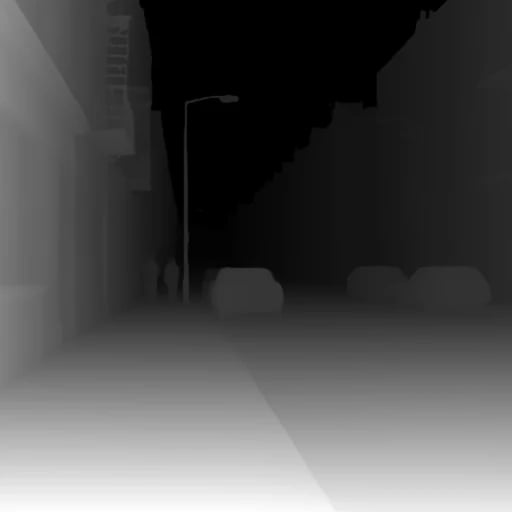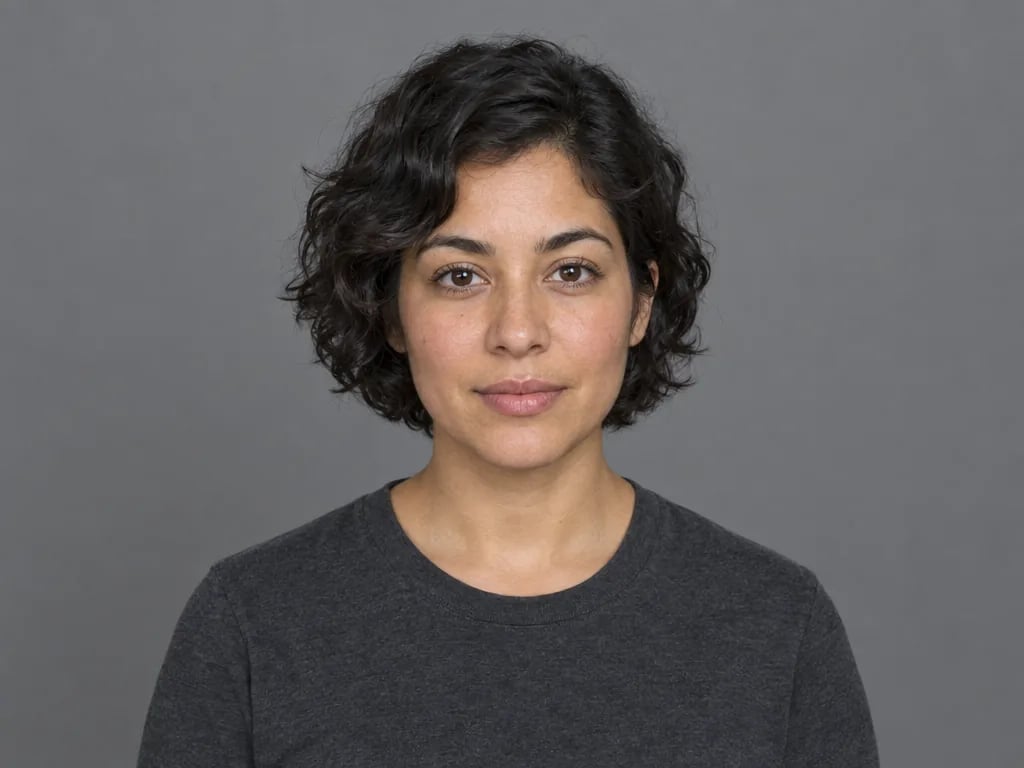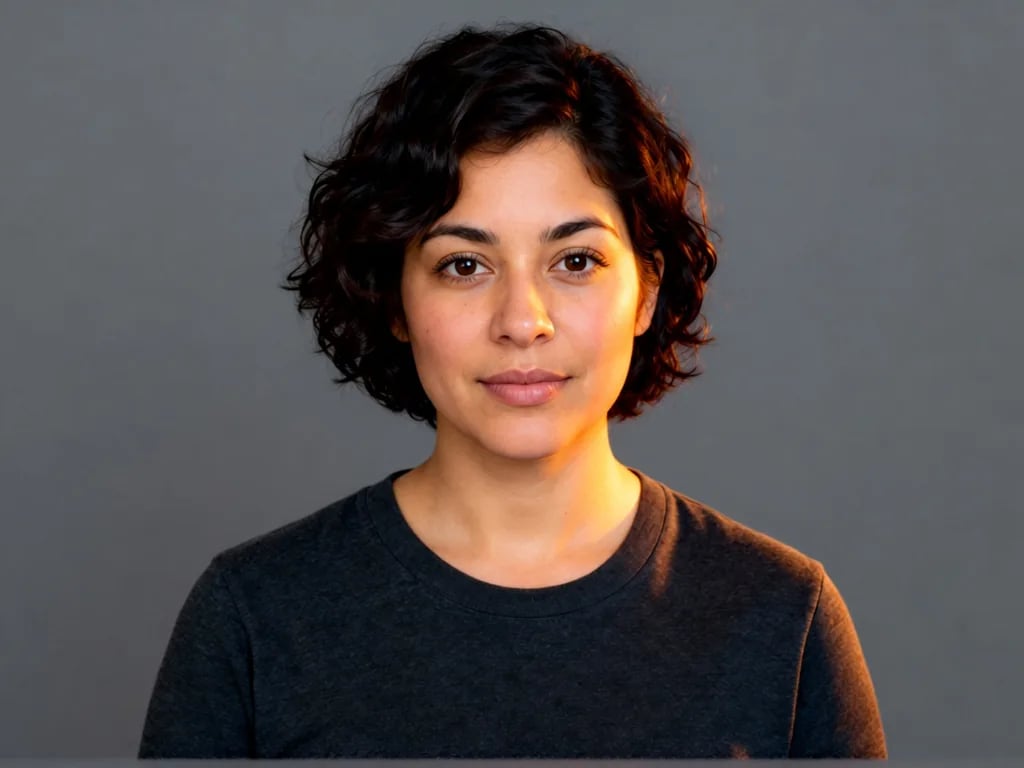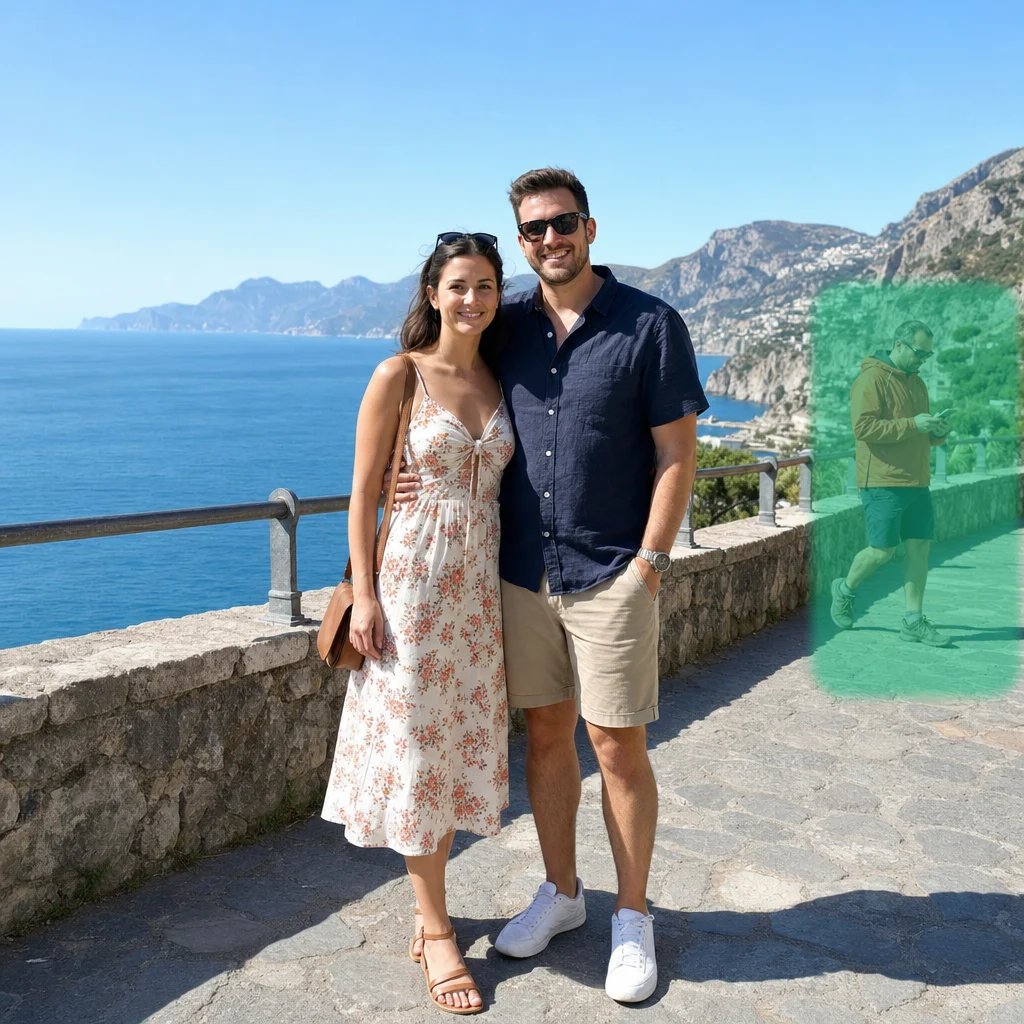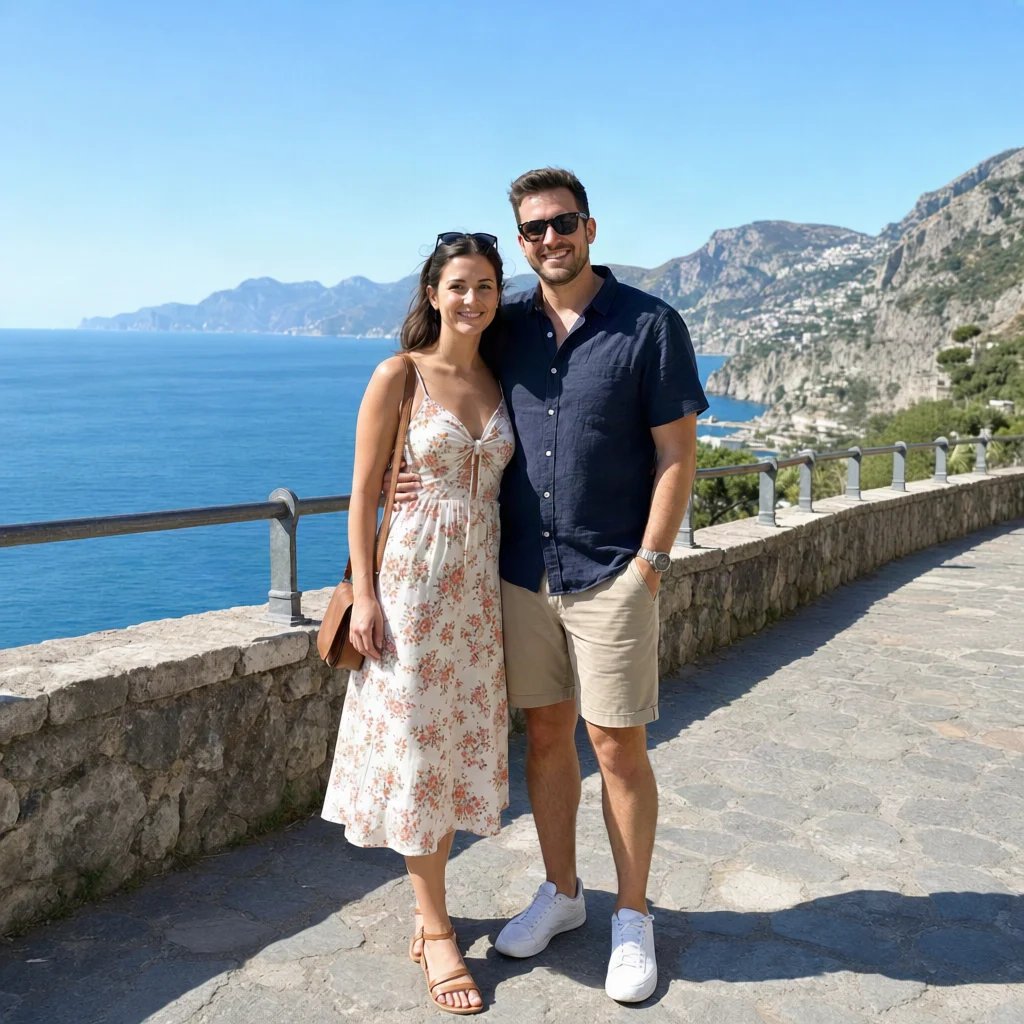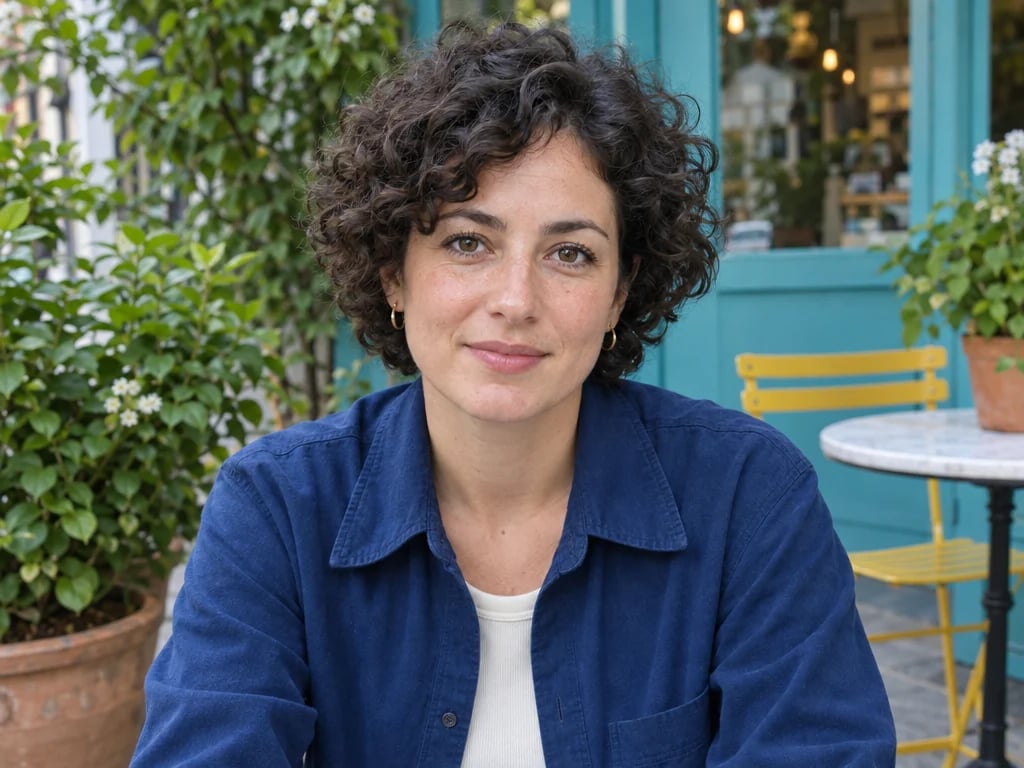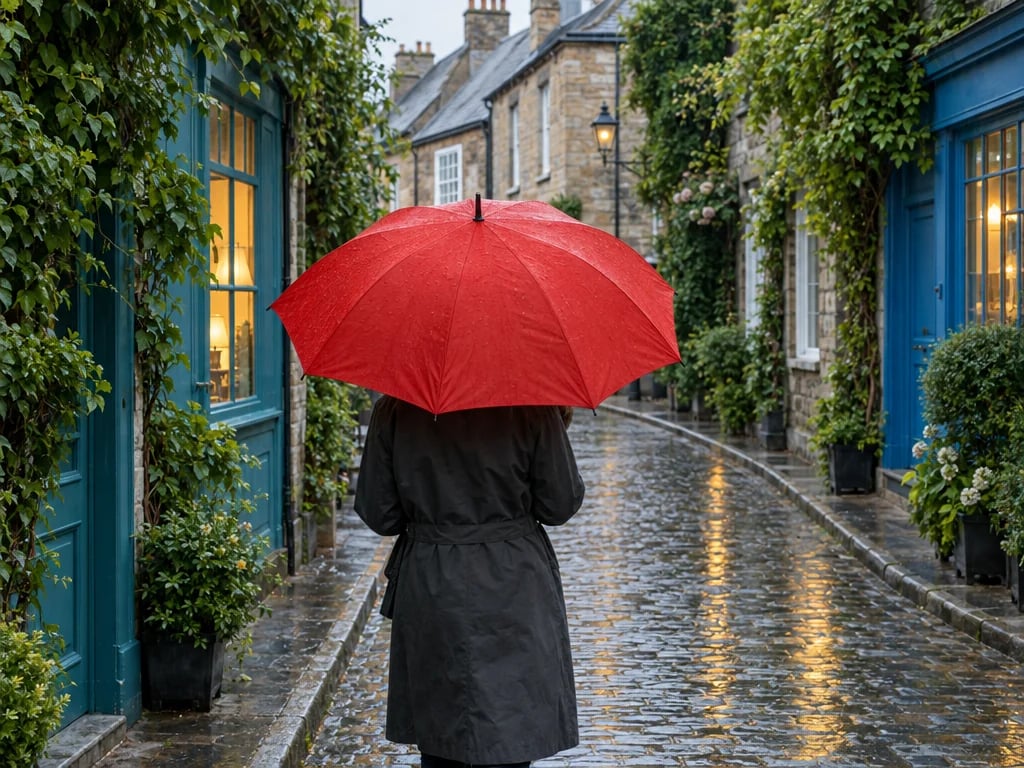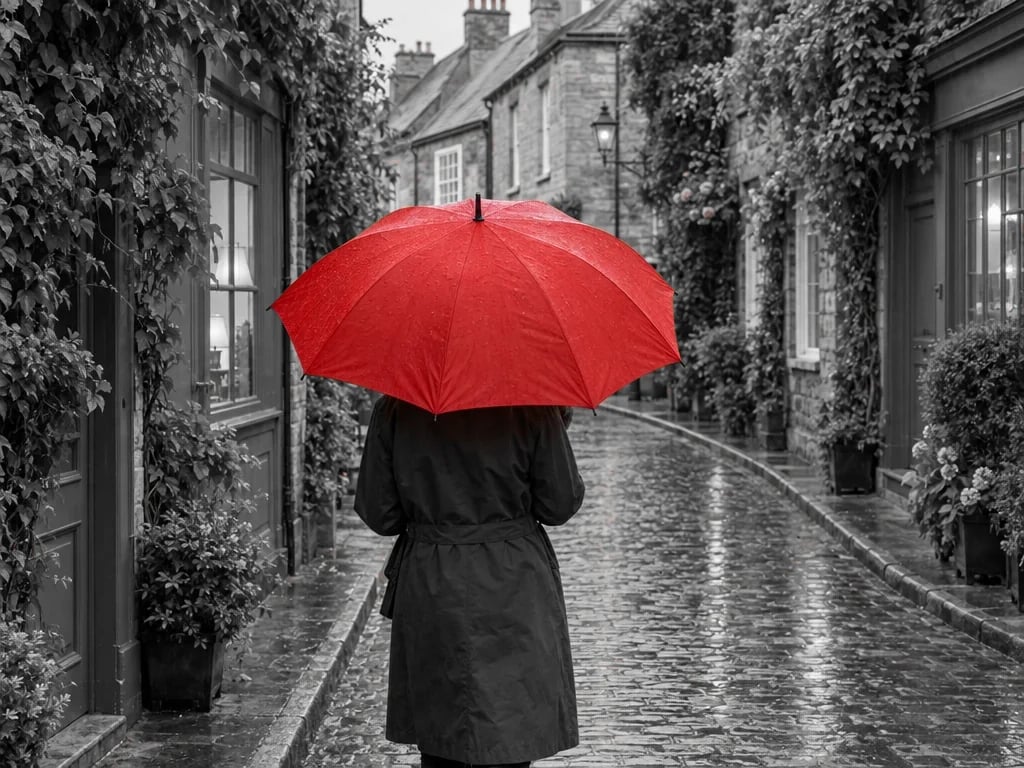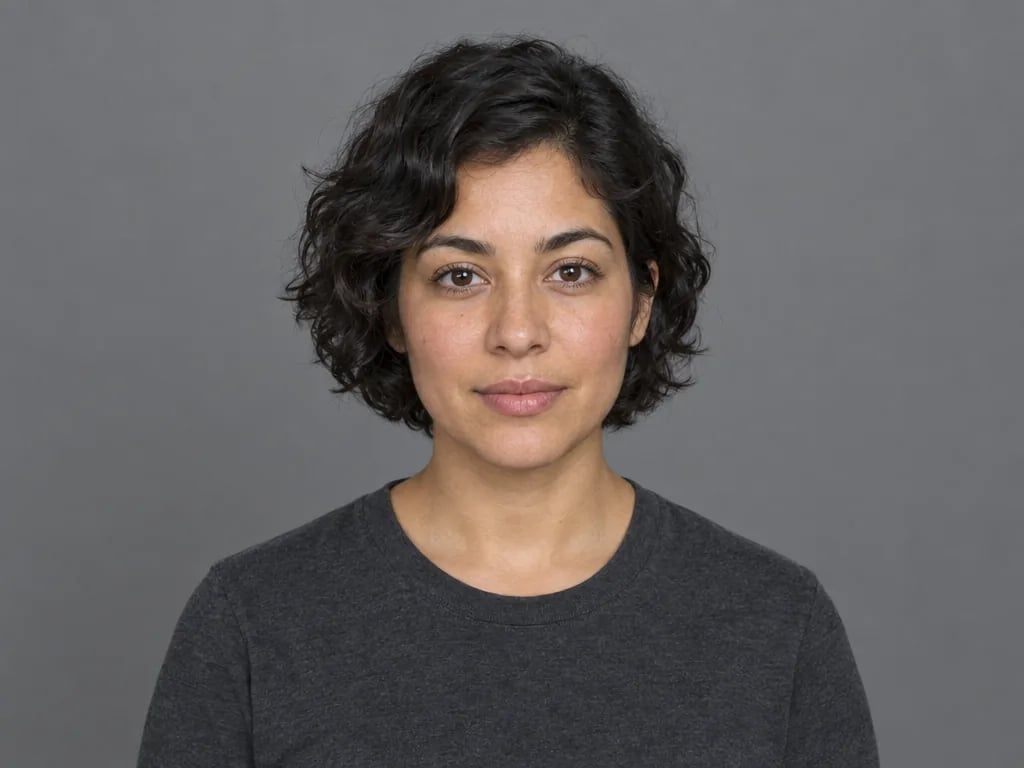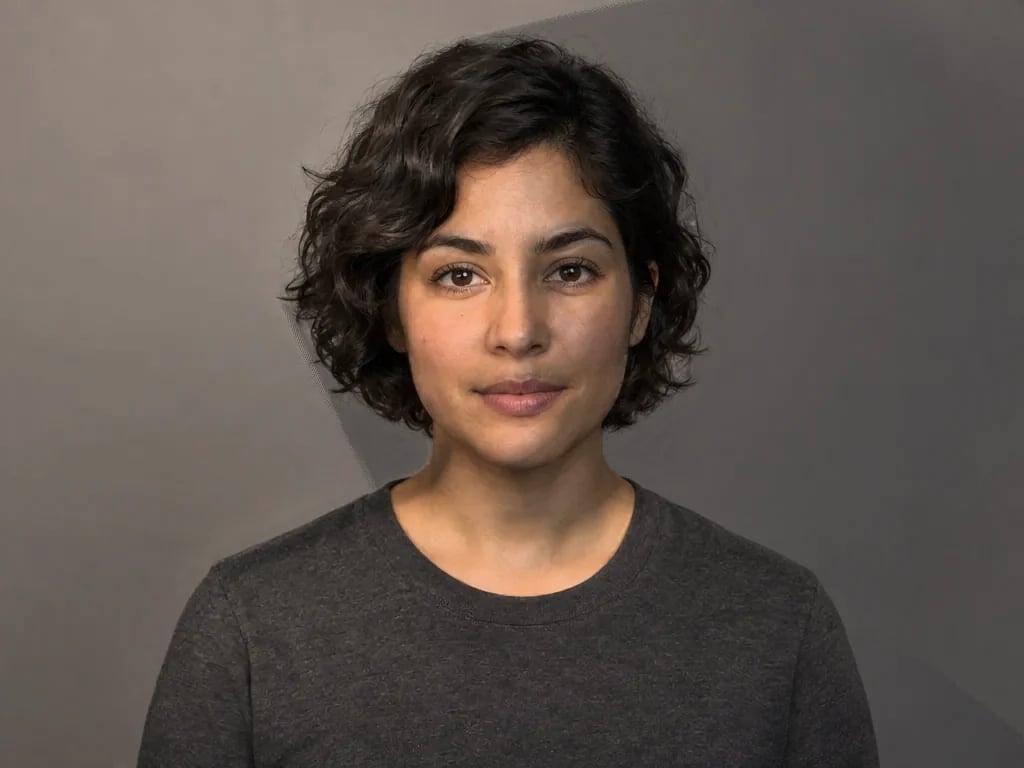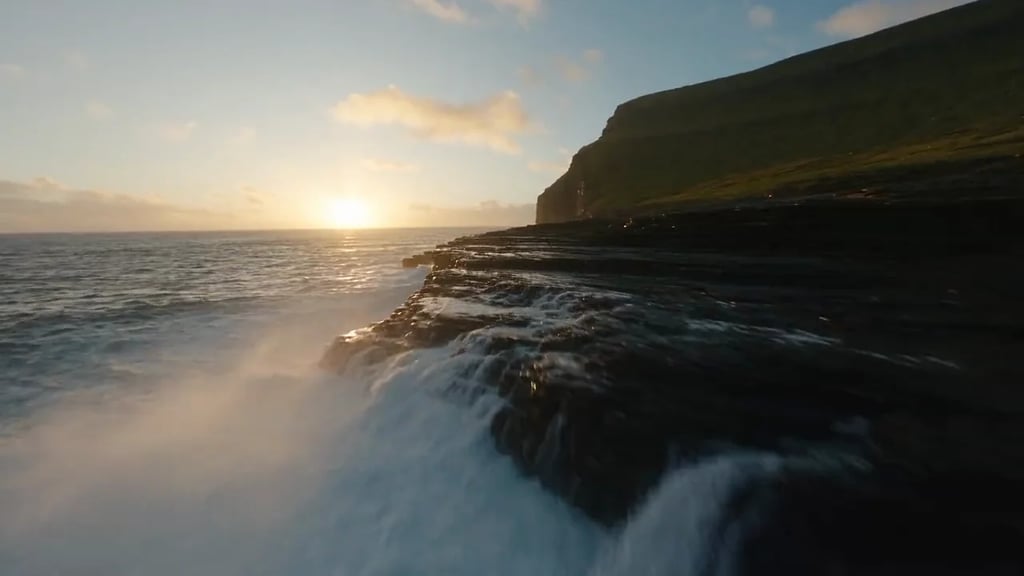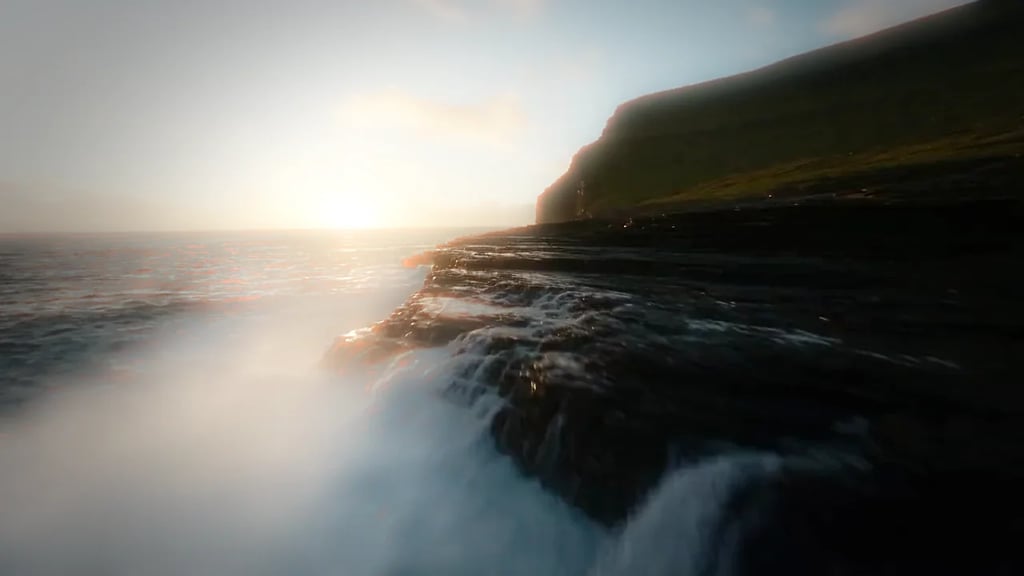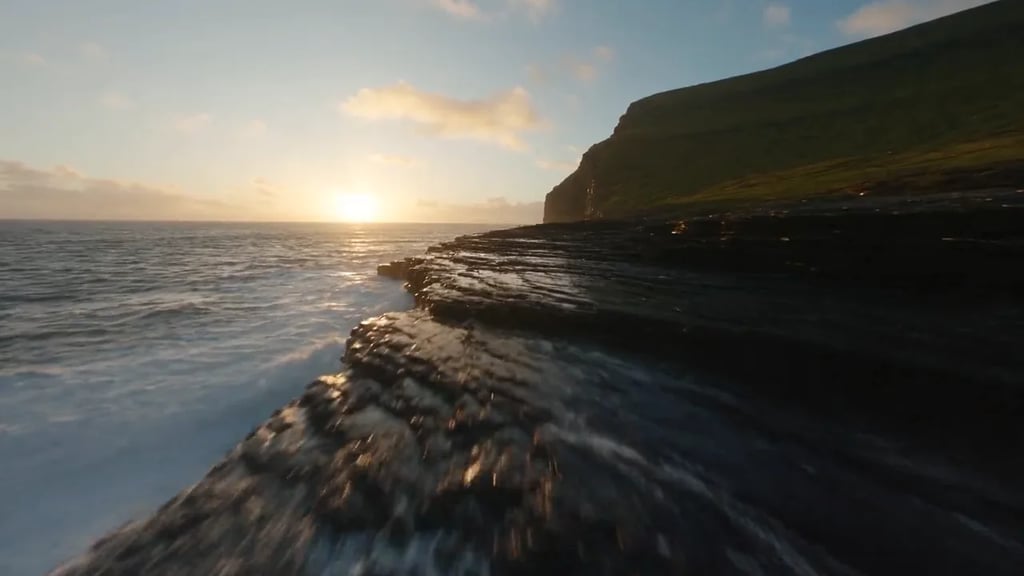
ControlNet lineart conditioning
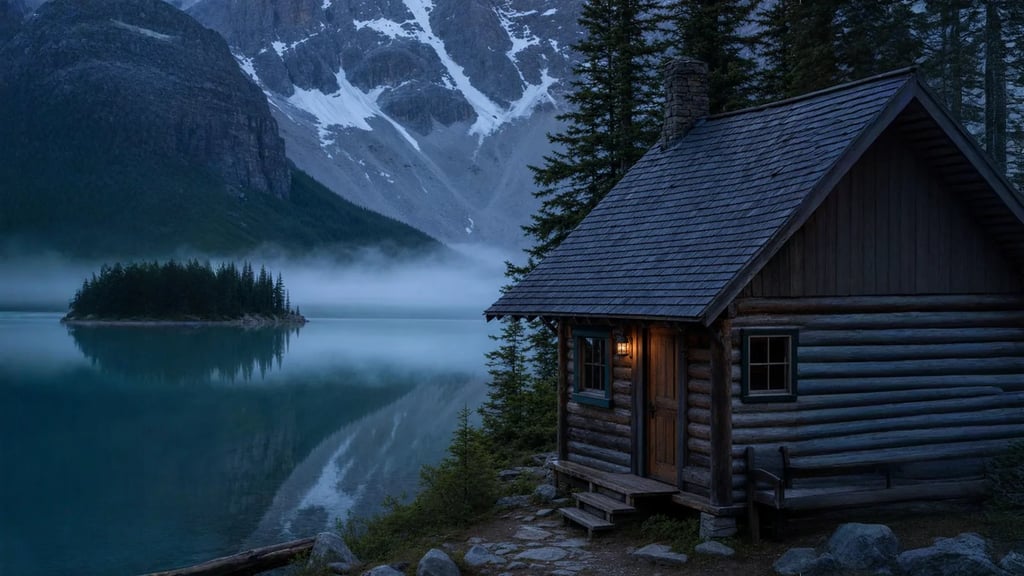
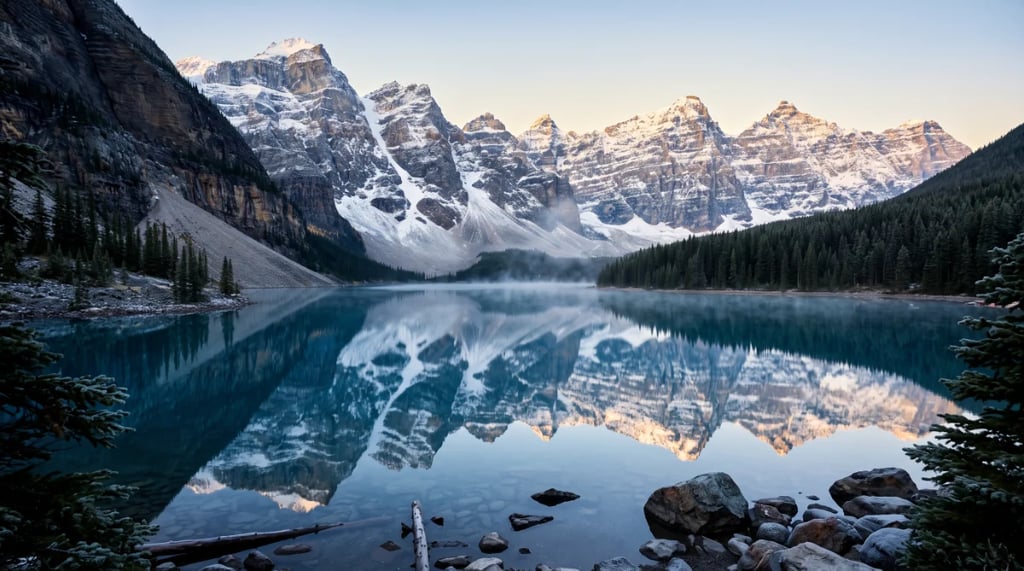
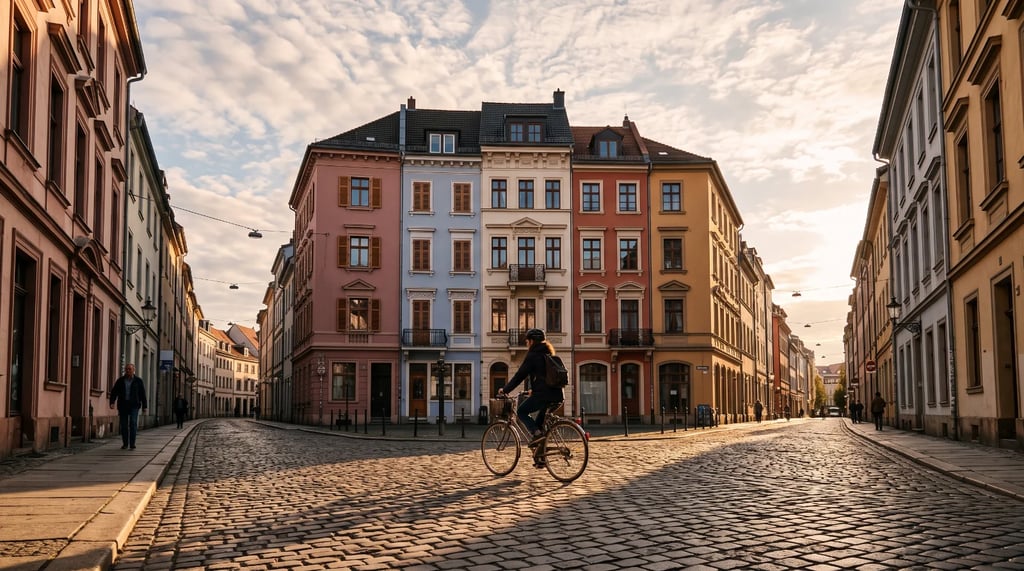
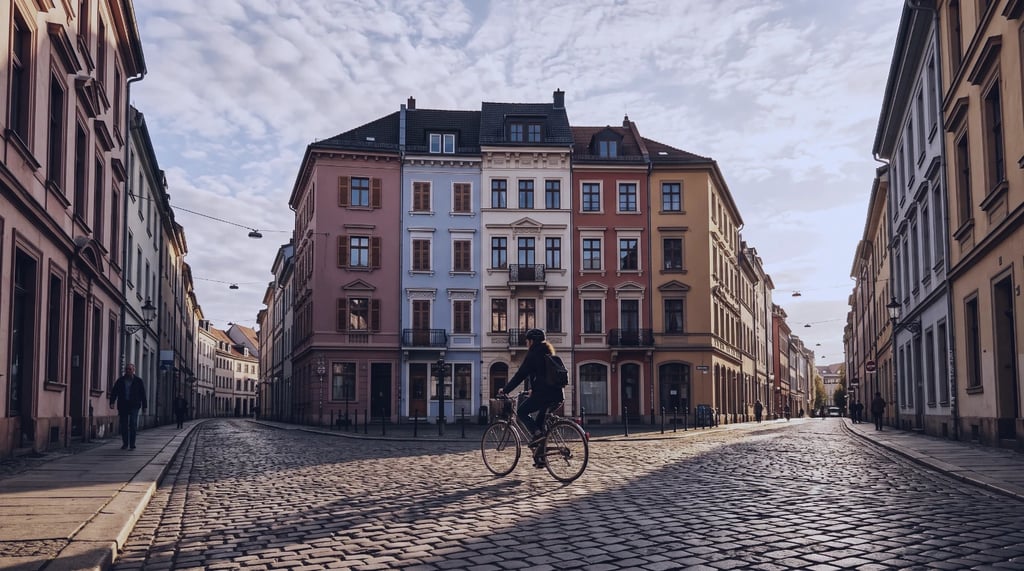
The most common use. Line art hands a generation model the exact structure of a photo, so a new image keeps the composition while its style changes completely.
Image to line art converter
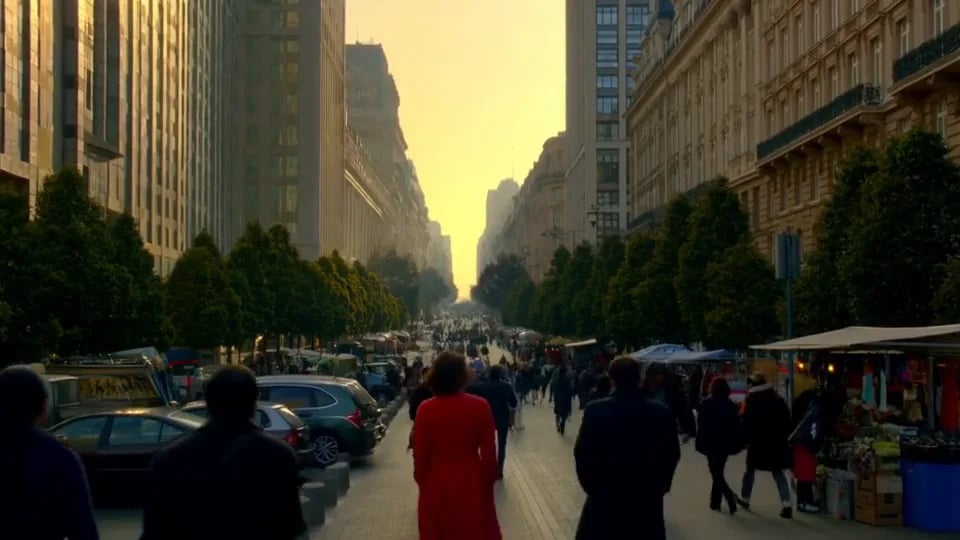
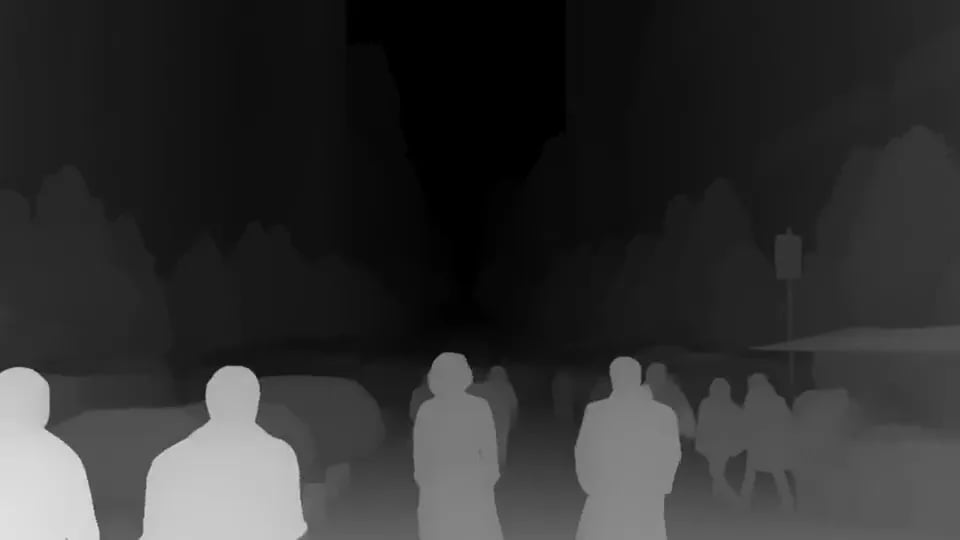
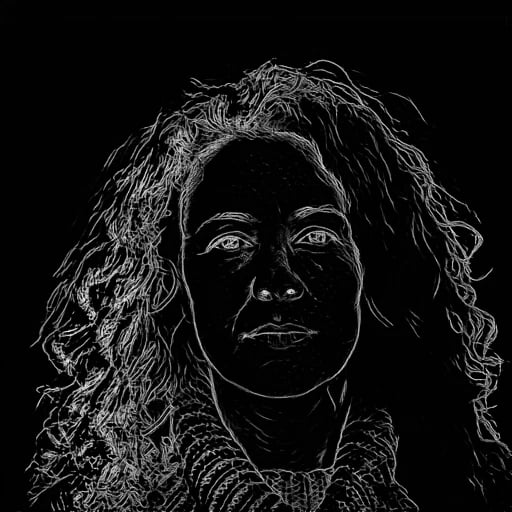
Upload a picture and get its outlines back as line art, with the colour and shading stripped away. Six methods, from a clean drawable line to a loose scribble — and every one of them traces the photo you gave it rather than redrawing it from scratch.
Examples
How it works
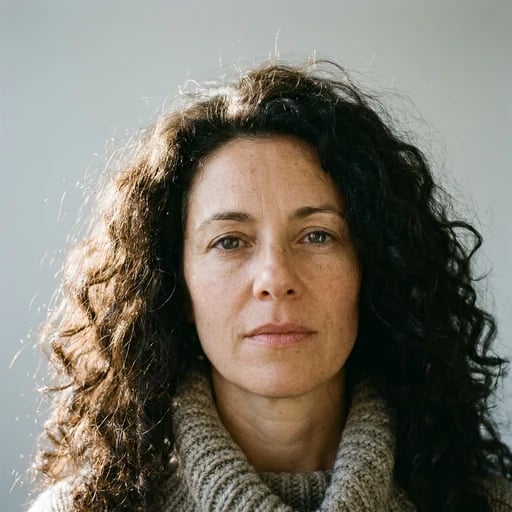
Drop in one JPG, PNG or WebP. Good contrast between the subject and its surroundings gives the cleanest lines; a low-contrast or very dark photo gives the detector less to find.
Six detectors, and they genuinely disagree about what counts as an edge. Line Art is the default and looks most like a drawing; the section below says when to reach for the others.
The line art opens in a generation session, so you can download it or wire it straight into a model as a lineart conditioning input without starting again.
Choose a method
Every method costs the same, so trying a second one on the same photo is cheap. They differ in how much detail survives, not in quality.
Clean, drawable outlines for illustration, anime and design sketches. The default, and the most legible of the six at a glance.
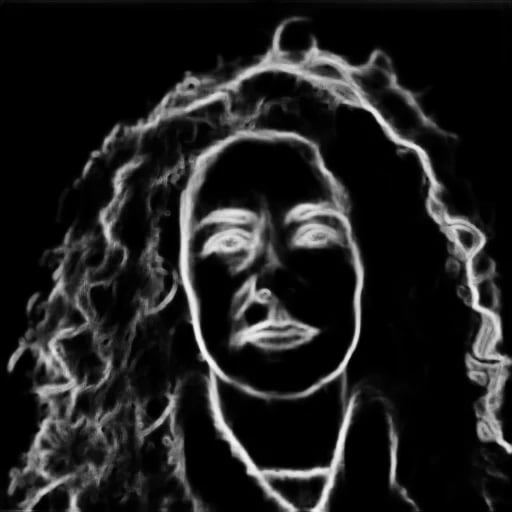
Soft holistic contours for architecture, interiors and products. Keeps texture and tonal boundaries that the clean-line methods throw away.
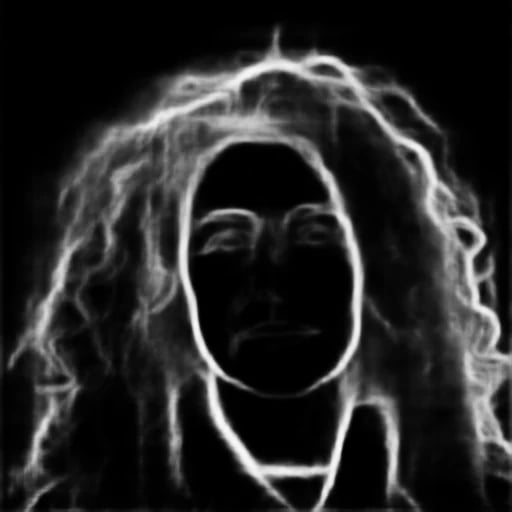
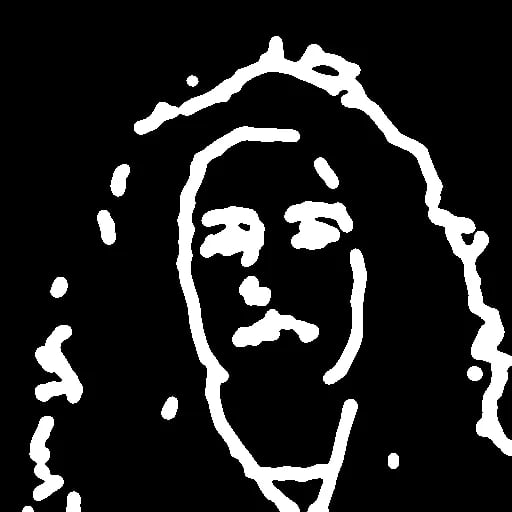
The smoothest of the six. It holds the overall shape of a subject and lets fine detail go, which suits a soft-edged portrait or a product contour more than a busy scene.
Fine dense edges for complex characters, products and mechanical detail. The most literal of the six, and the one to use when small features matter.
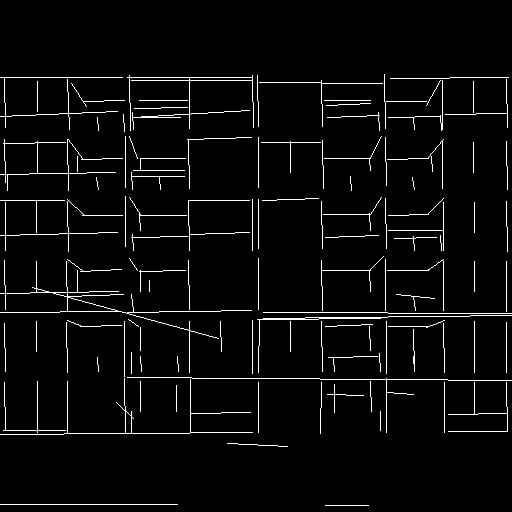
Straight-line and perspective detection for rooms and architecture. It finds structural lines and ignores organic shapes, which makes it the wrong choice for a portrait and the right one for a building.
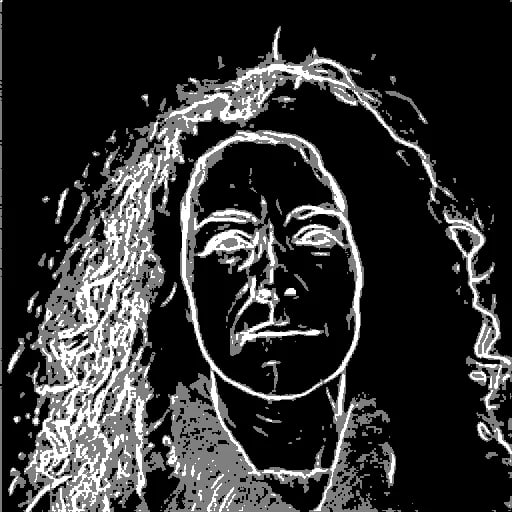
Sparse sketch guidance for rapid layout and early concept design. Deliberately loose — it gives a generation model room to invent rather than pinning every contour.
What this is
Edges are extracted from the pixels you uploaded, so proportions, angles and placement come through unchanged. An AI illustration tool that draws a new picture in a line style cannot promise that, and this is the difference worth knowing before you pick one.
Scribble finding fewer lines than TEED is not Scribble doing a worse job. The six sit on a scale from sparse to literal, and which end you want depends on whether the lines are the finished artwork or a hint for a model.
Everything tonal is discarded by design — that is what makes the output usable as conditioning. The result is WHITE LINES ON BLACK, which is the standard form a conditioning input takes; invert it in any image editor if you want dark lines on paper. A photo that relies on colour rather than contrast to separate its subject will also give thinner lines than you expect.
What it is for
The most common use. Line art hands a generation model the exact structure of a photo, so a new image keeps the composition while its style changes completely.
A clean outline pass is the starting point for a colouring sheet or a digital ink layer, with the shading left for you to put back.
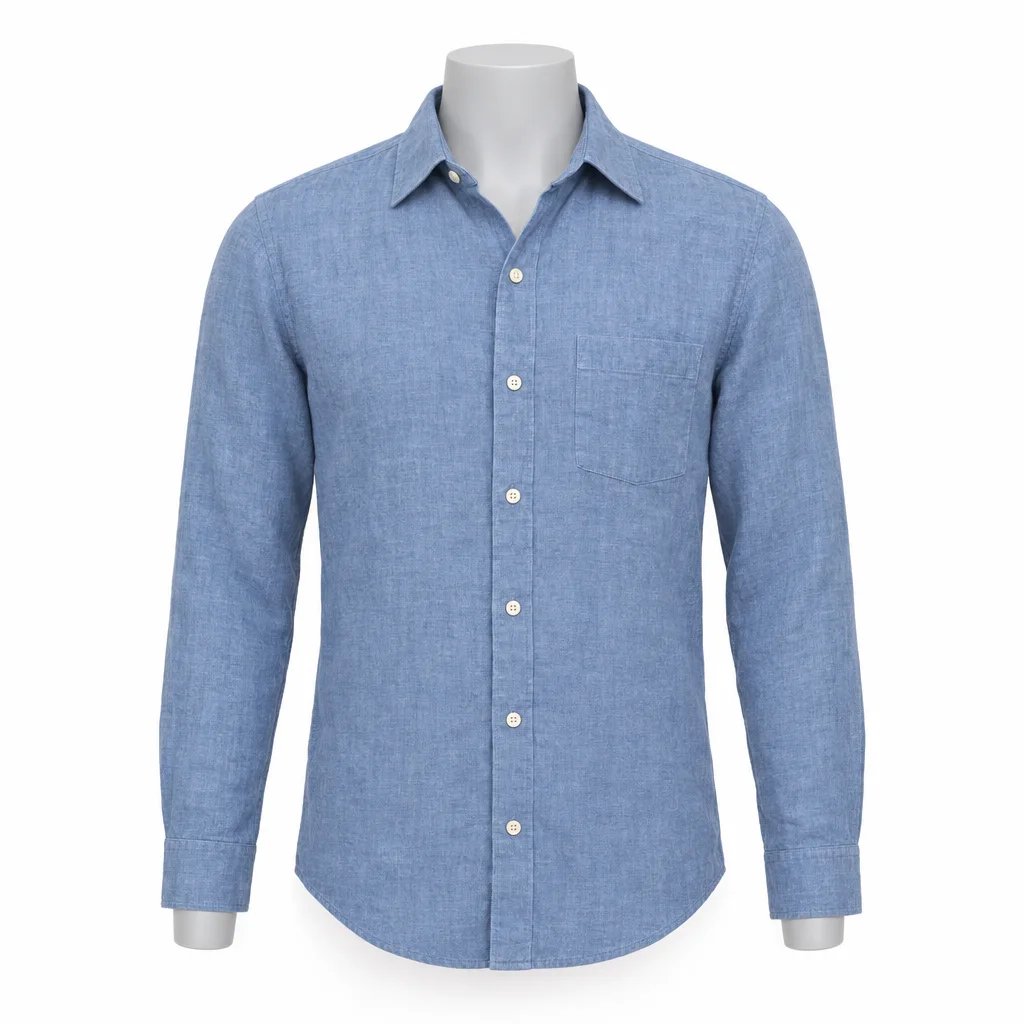
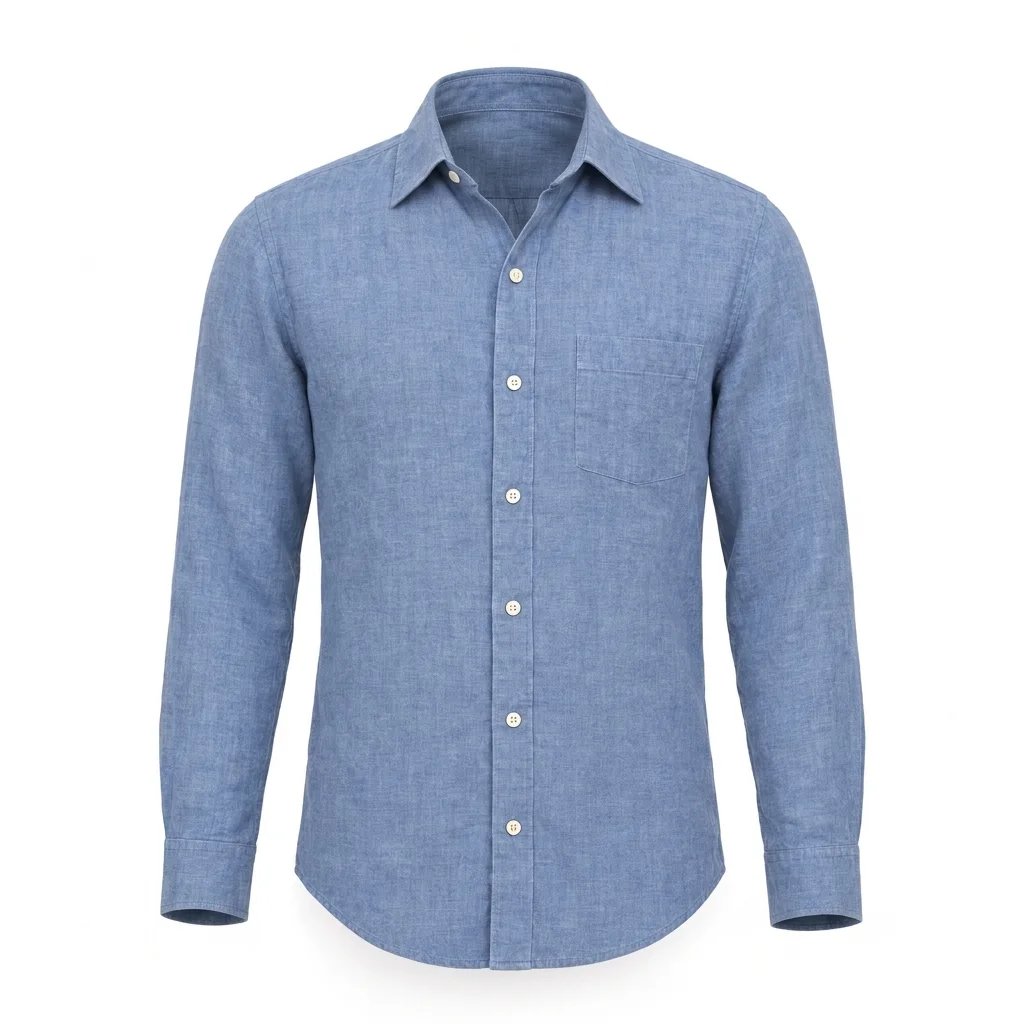
Stripping a product photo to its contours gives you the technical-flat view that a catalogue or a spec sheet wants.
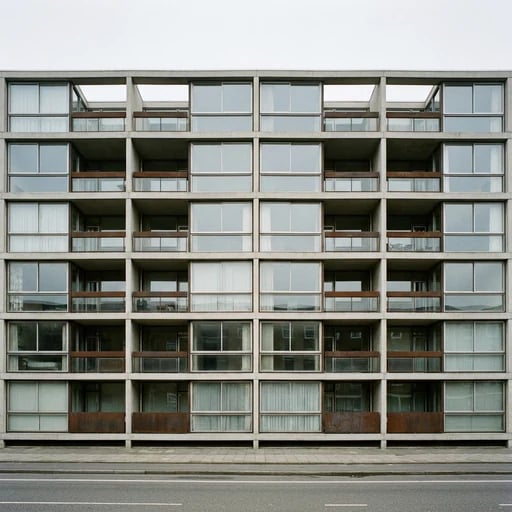
M-LSD finds the structural lines in a building photo and ignores the rest, which is closer to an elevation drawing than a filter.
Each conversion costs a flat 2 credits, whatever the size of the photo or the method you pick.
FAQ
More tools
Choose another tool to edit, enhance or transform your images and videos.
Start converting
Upload one photo, pick a method, and get its outlines back in seconds.