AI inpainting

AI Inpainting: Repaint Any Part of a Photo with Generative Fill

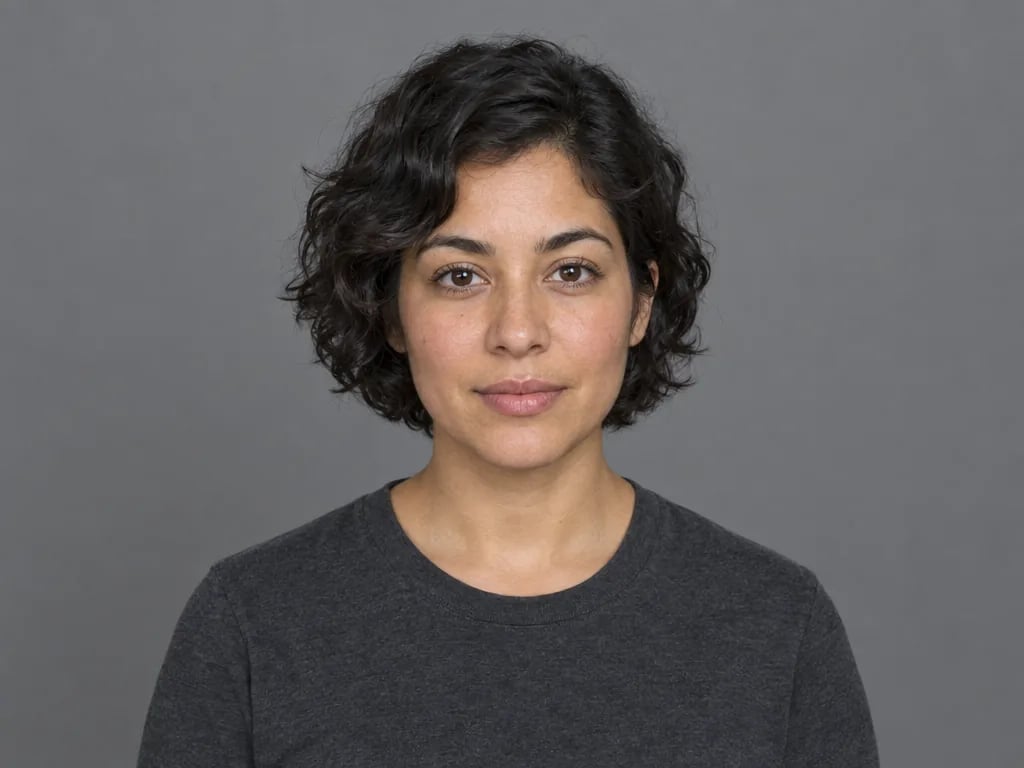
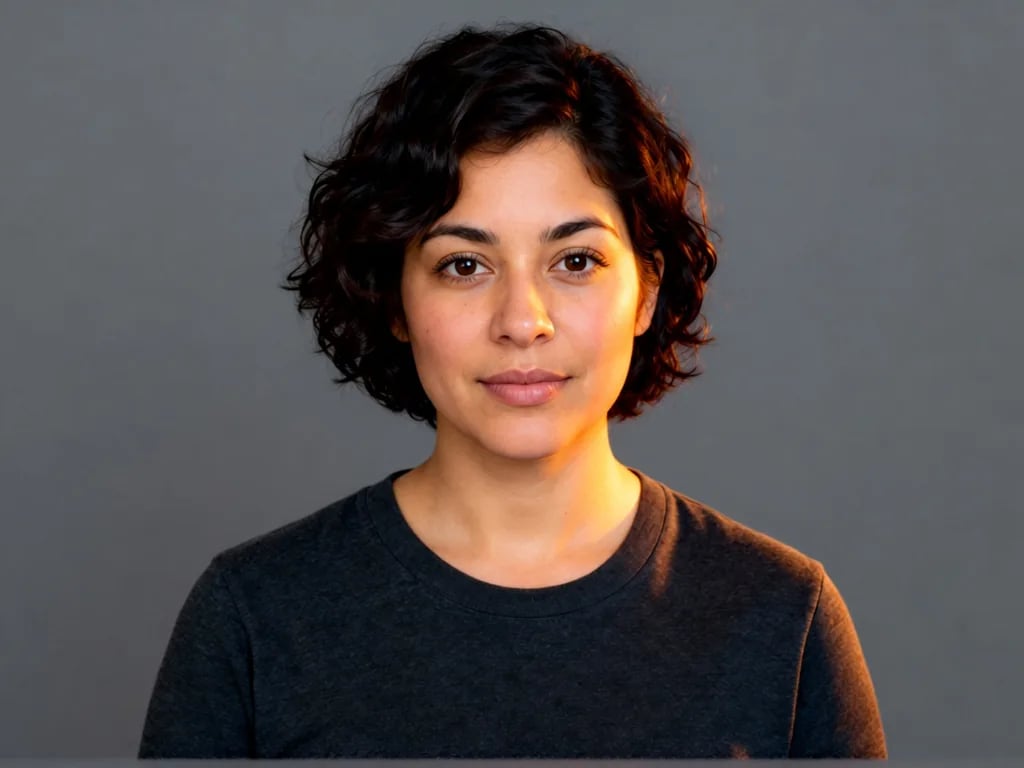
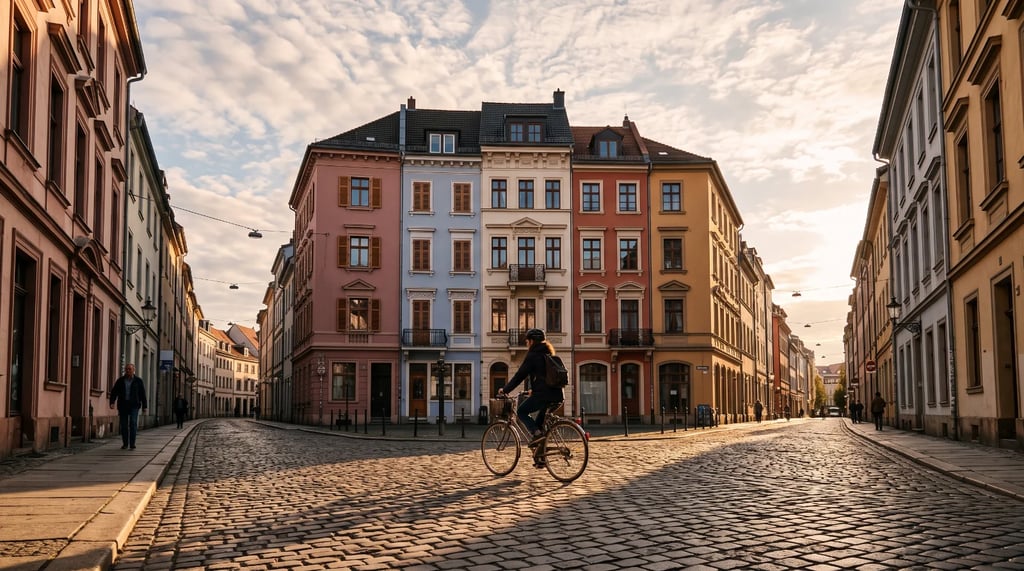
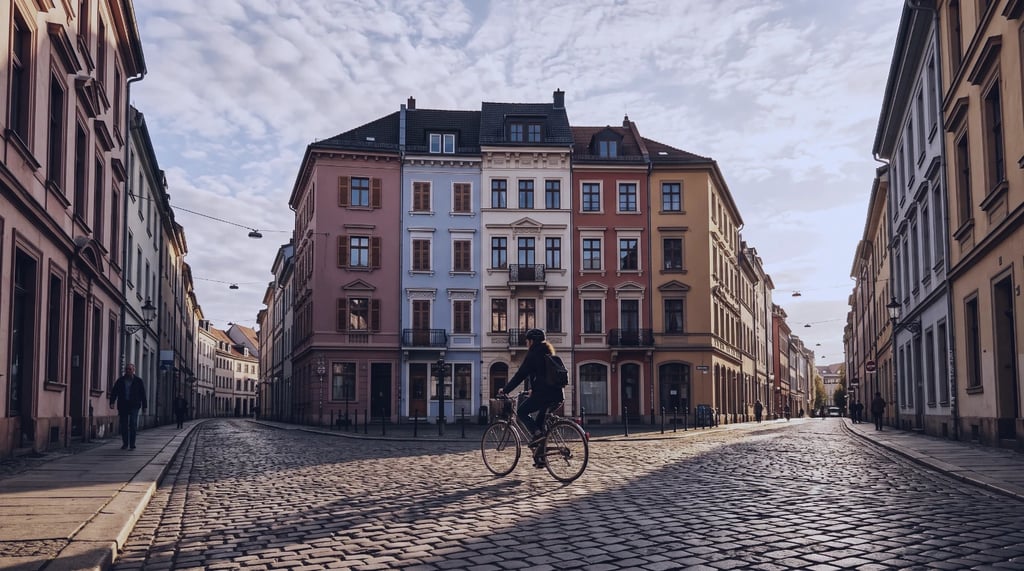
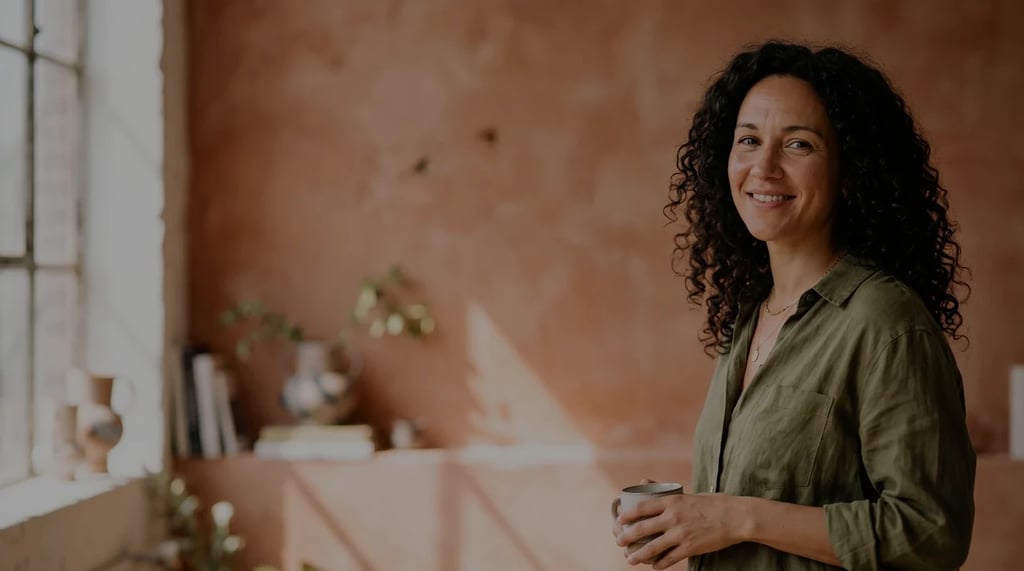
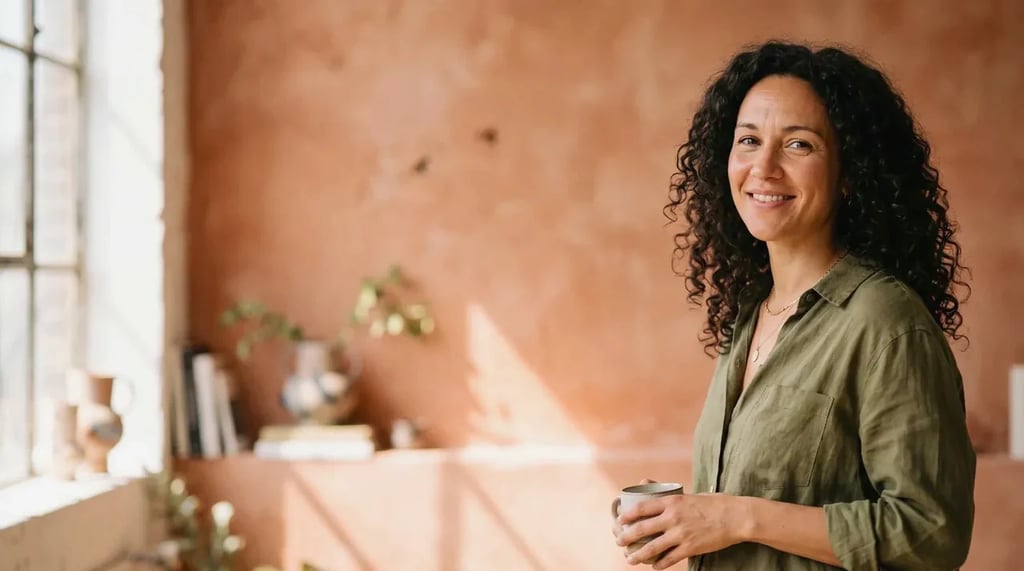
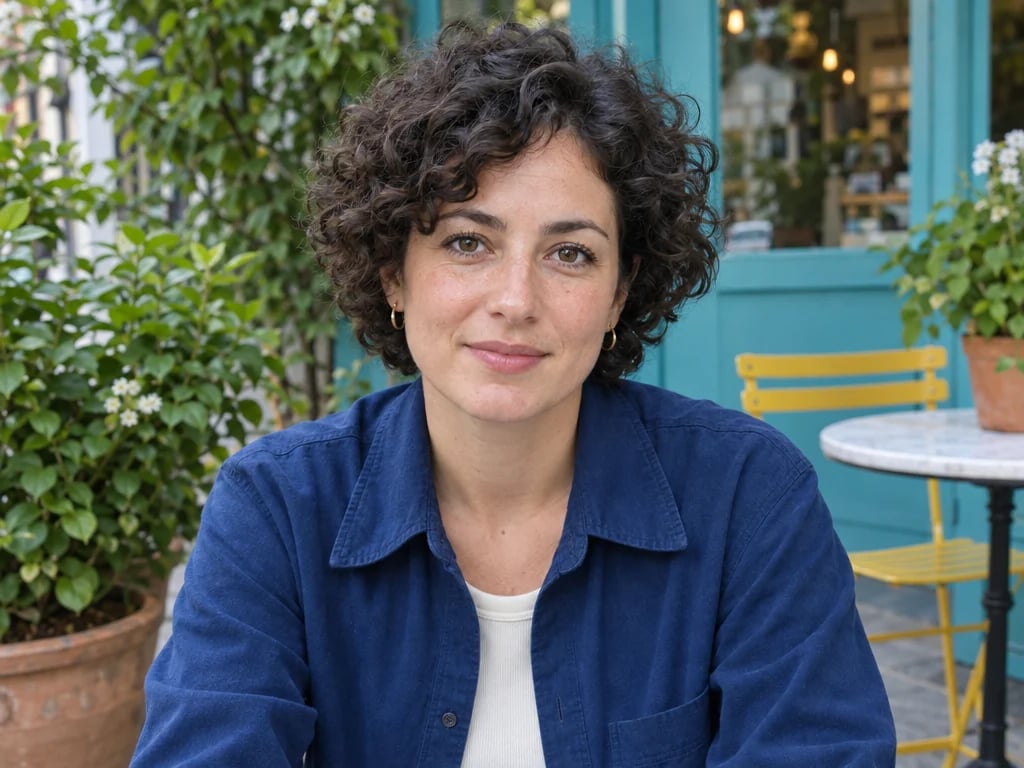
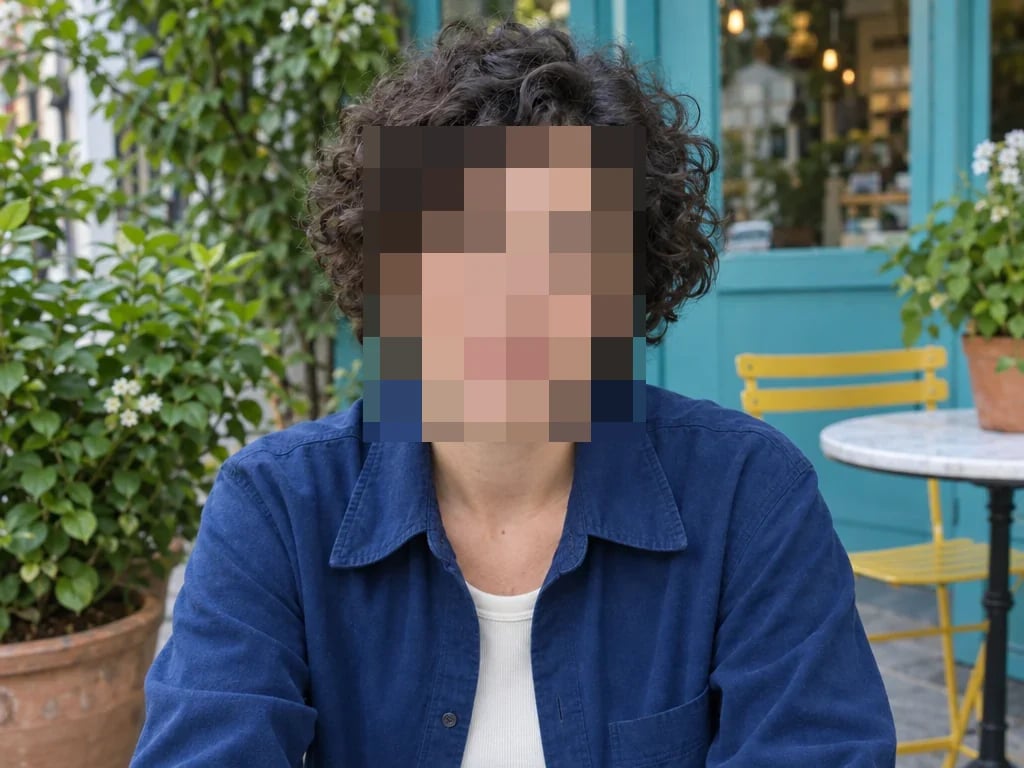
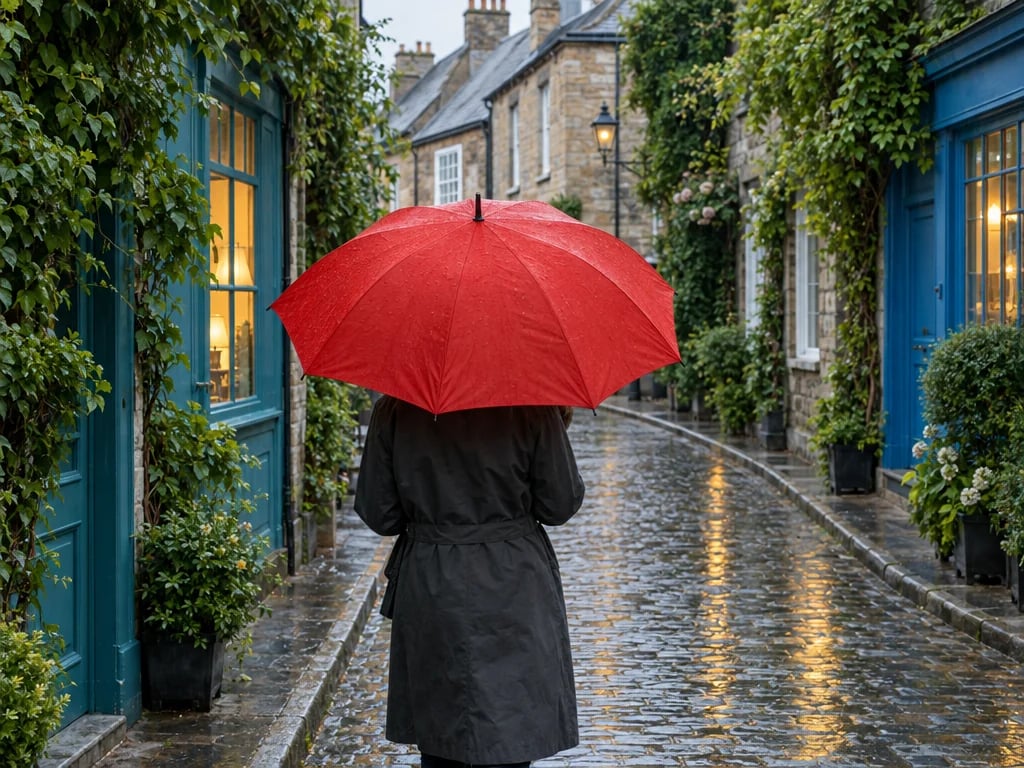
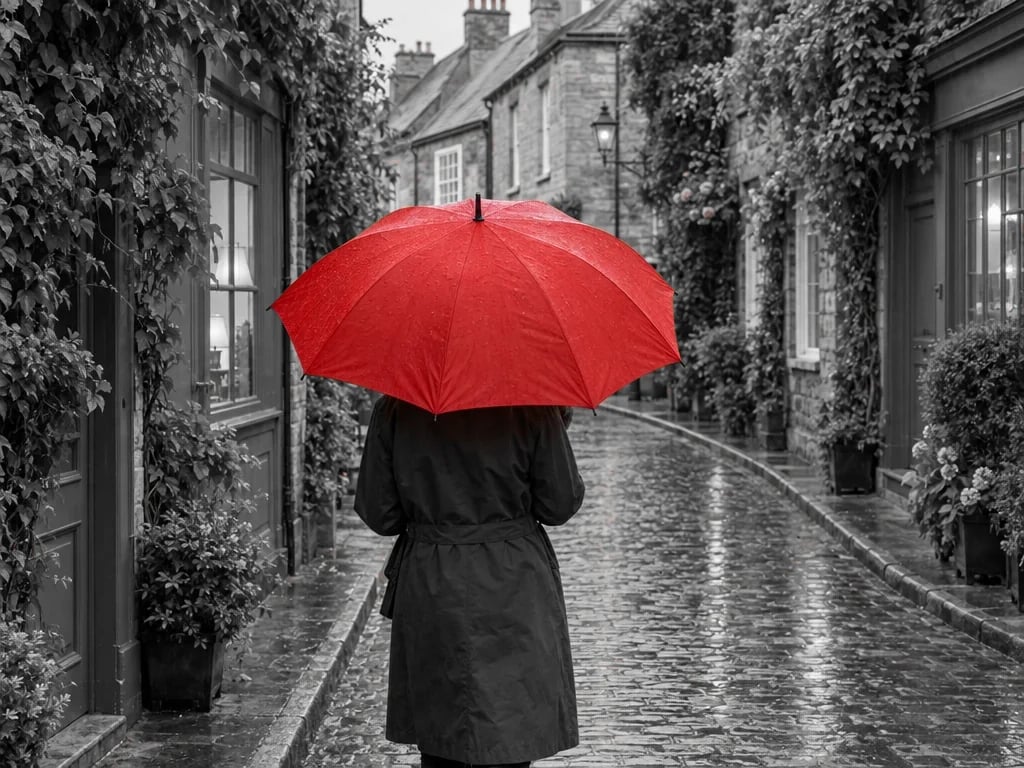
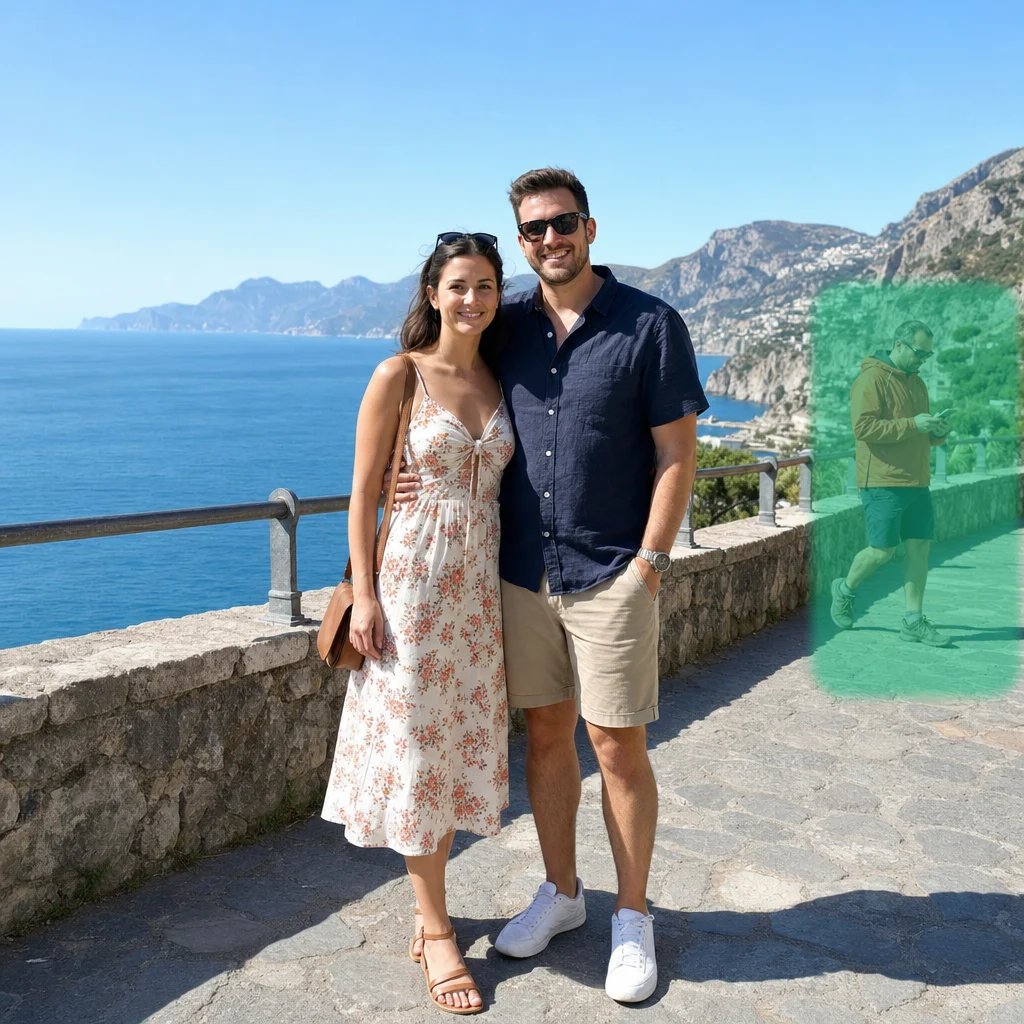
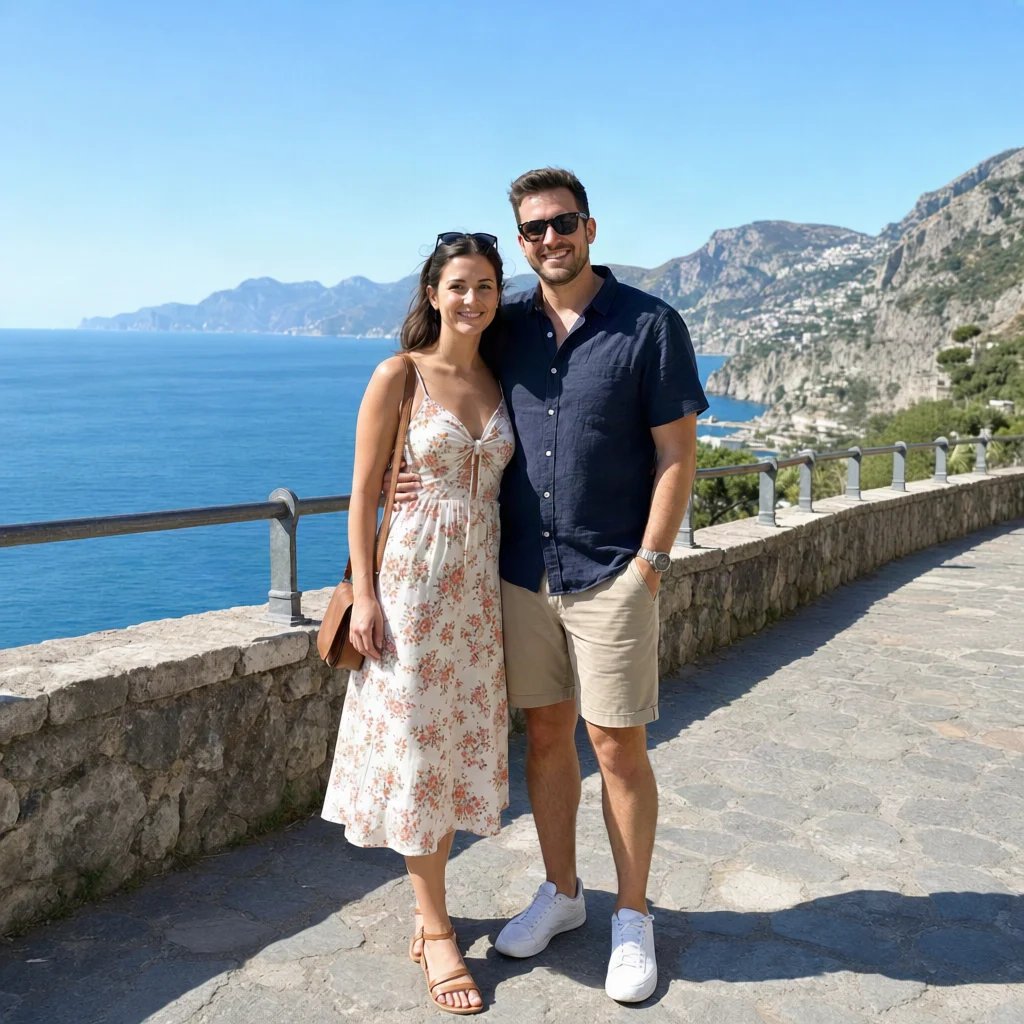
Brush over the part of the photo you want changed and say what belongs there instead. The brushed region is where the edit lands, and the fill is matched to the light, perspective and grain around it.
5 credits

The filled image opens in a session you can come back to, where you can paint another region and run it again.

How it works

How to inpaint an image in three steps

  1. Step 1

    Upload your image

    Drop in a JPG, PNG or WebP. A photo with something in it you want gone, changed or added.

  2. Step 2

    Brush over the region

    Paint the area you want repainted. Cover the object's shadow and reflection too — anything you leave unpainted stays exactly as it is.

  3. Step 3

    Say what belongs there

    Describe the replacement in a few words. The result opens in a session that belongs to you, ready to download or to paint again.

The selection

A brush, not a mask file

Paint it in the browser

Brush, eraser and three brush sizes, drawn straight onto your photo. Nothing to select by hand in another editor, and no mask file to prepare.

The brush aims the edit

What you paint is what the model changes — the mask is what separates “repaint this” from “redraw the picture”. Note that the frame itself is re-rendered around it, so the result comes back at the model's own size rather than byte-identical outside the brush.

Include the shadow

The most common reason a fill looks wrong is a shadow left behind by an object that is no longer there. Paint over shadows and reflections as well as the thing itself.

What it is for

Where AI inpainting saves the whole shot

Cleaning up a photo

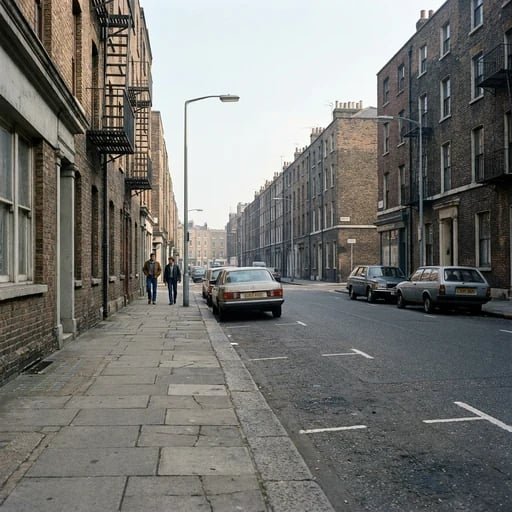
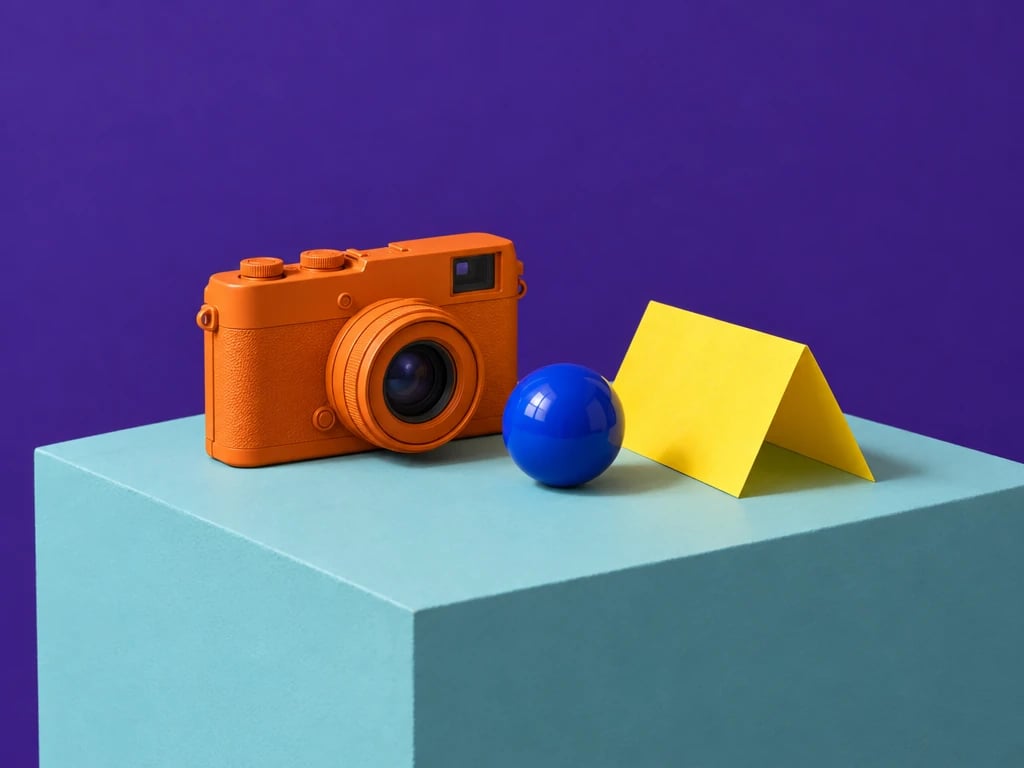
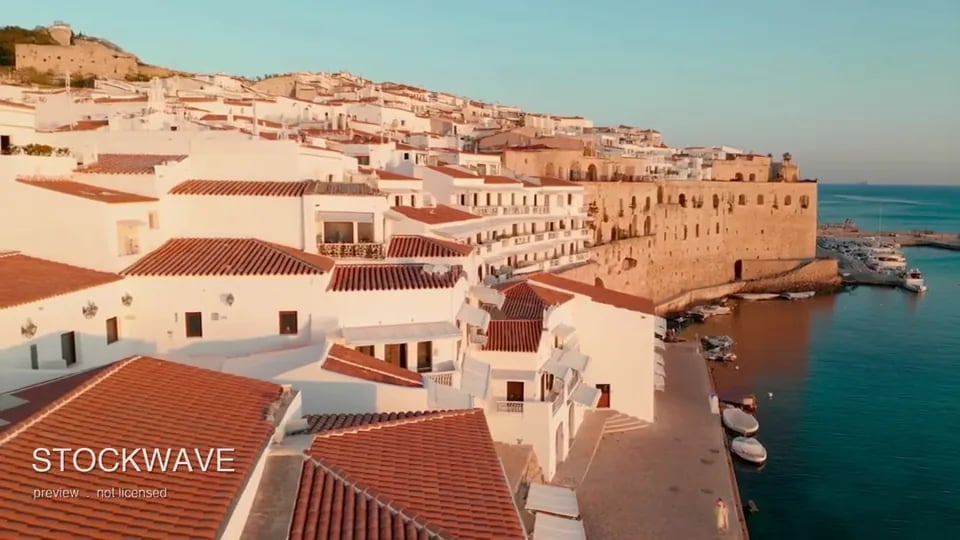
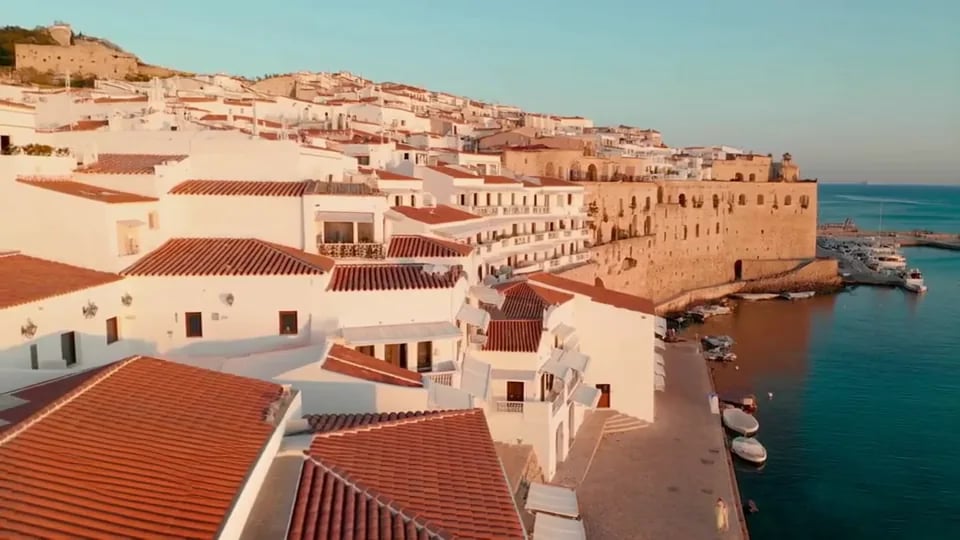
A passer-by in a travel shot, a bin in an interior, a date stamp in a corner. Paint it, ask for what should be behind it, and it is gone.

Product variants

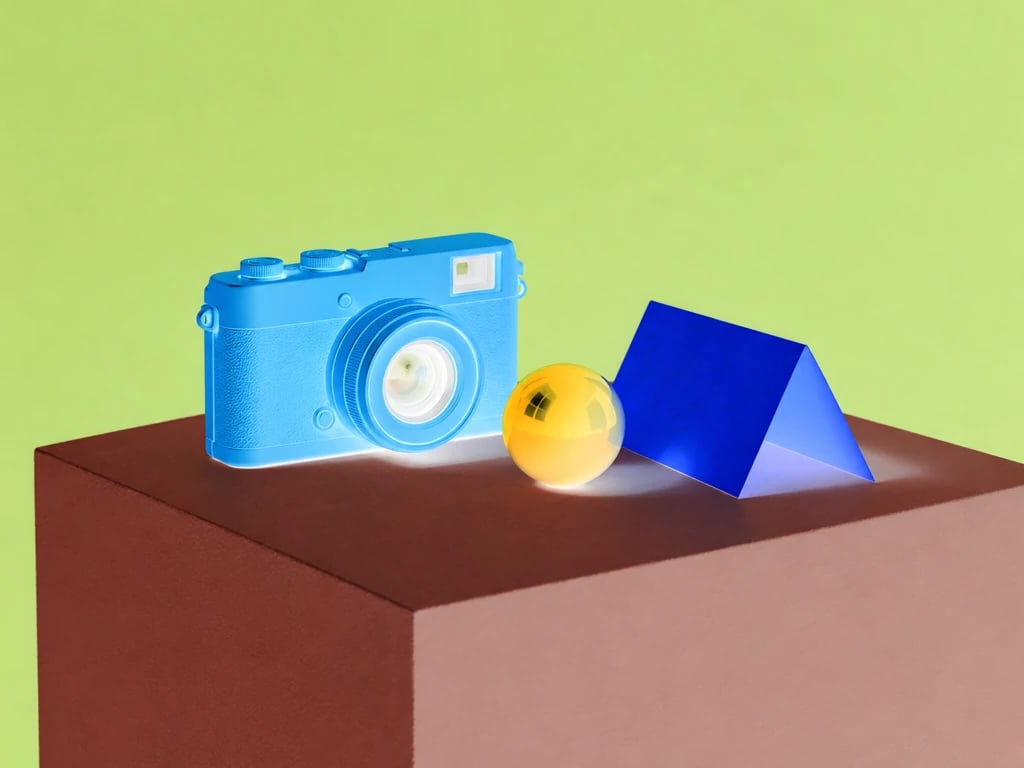
Change a label, a colourway or a background on one product photo instead of shooting the variant separately.

Interiors and property

Swap a sofa, empty a cluttered surface, or put something in an empty corner to show how a room could be used.

Adding something new

Inpainting is not only removal. Paint an empty area and describe what should occupy it, and the fill is lit to match the frame it lands in.

Why the seam disappears

Filling a region rather than pasting over it

Lit to match the frame

The fill takes its light direction, colour grade and grain from the pixels around the region, which is what a pasted stock element can never do and why it always reads as pasted.

The rest of the frame carries over

Everything outside the mask is reconstructed to match what you had — same scene, same light, same framing. It is a re-render rather than a byte-for-byte copy, so treat the result as a new file: keep your original if you need it untouched.

What it finds hard

Large regions with no surrounding context to work from, text that must read exactly, and faces at the edge of a mask. Paint a little wider than the object and give the model something to continue from.

Pay per edit, not per month

Every plan includes credits you can spend on this page or anywhere else on YouArt.

Basic

For hobbyists and explorers

$9.99/mo
Select Plan
  • 1000 credits
  • Up to ~200 images/month
  • At least ~1000s video/month
  • Intelligent creative agent
  • Video editor
  • Latest image models, including GPT Image 2 and Nano Banana Pro
  • Latest video models, including Seedance 2
  • Realistic face uploads
  • Voice generation with ElevenLabs
  • No watermark
  • Unlimited template access

Pro

Most Popular

For creators and pro users

$29.99/mo
Select Plan
  • 3300 credits
  • Up to ~1000 images/month
  • At least ~3300s video/month
  • Intelligent creative agent
  • Video editor
  • Latest image models, including GPT Image 2 and Nano Banana Pro
  • Latest video models, including Seedance 2
  • Realistic face uploads
  • Voice generation with ElevenLabs
  • No watermark
  • Unlimited template access

Max

For power users and teams

$149.99/mo
Select Plan
  • 18000 credits
  • Up to ~6000 images/month
  • At least ~18000s video/month
  • Intelligent creative agent
  • Video editor
  • Latest image models, including GPT Image 2 and Nano Banana Pro
  • Latest video models, including Seedance 2
  • Realistic face uploads
  • Voice generation with ElevenLabs
  • No watermark
  • Unlimited template access

Team

For teams and studios

$329.99/mo
Select Plan
  • 36300 credits
  • Up to ~12000 images/month
  • At least ~36300s video/month
  • Realistic face uploads
  • Share canvas, workflows, and assets with your team
  • Up to 10 members per team
  • Up to 5 teams
  • Role-based management
  • Team credit management and spending caps
  • Per-member usage tracking

FAQ

AI inpainting FAQ

What is AI inpainting, and how does it work?
Inpainting repaints a selected region of an image and leaves everything else alone. You brush a mask over the part you want changed and describe what should be there; the model generates only that region, taking its lighting, perspective and grain from the pixels around it so the boundary does not show.
What's the difference between inpainting, generative fill and an object remover?
Inpainting and generative fill are the same operation under two names — generative fill is the term Photoshop popularised. An object remover is the same mechanism with the prompt decided for you: it always asks for the background. This page gives you the prompt, so it can remove, replace or add.
Can I use it to remove an object, a person or a watermark?
Yes. Brush over the thing and describe what should be behind it — "empty pavement", "plain wall", "continuous sand". Because you write the replacement rather than leaving it to a guess, you get to say what fills the gap.
Do I have to write a prompt?
Yes, on this page — the model needs to be told what belongs in the region you painted. For removal that is a short phrase describing the background. If you want a one-click erase with nothing to type, the workflow editor lets you save a graph with the prompt already set.
Will it leave a blurry patch where the object was?
That is the classic failure of older content-aware fill, which smeared nearby pixels inward. This generates new content for the region instead, so the result has real texture. A blurry result usually means the mask was much larger than the surrounding context could support.
Should I brush over the object's shadow and reflection too?
Yes, and it is the single most useful habit here. A removed object that leaves its shadow behind is the most common reason an edit looks wrong, because the eye reads the shadow as proof something was there.
Does the rest of my image stay exactly the same?
The masked region is where the edit happens, and the scene around it comes back matching what you had. It is not a byte-for-byte copy though: the model re-renders the whole frame and returns it at its own working size, so the file you get is a new one rather than your original with a patch in it. Keep the original if you need it preserved exactly.
How much does one edit cost?
The credit cost of the workflow behind this page, shown next to the button before you run it. Each run is one fill, so painting a second region is a second run.
Beyond one region

Need to change more than one thing?

This page fills one region per run. Open the workflow editor to chain fills, save a graph with the prompt already written for one-click removal, or run a set of images through the same edit.